Add a 'Like' Button to Your Blogposts Using This Simple JavaScript Technique
Tuesday 04 August 2015, by Lewis Swift

Jump to:
It's surprisingly easy to add some engaging & interactive new features to any website nowadays, thanks to the variety of services and APIs that are available.
Firebase is a great example. They offer persistent data storage with real-time updates, as well as an easy-to-use user authentication (i.e. user registration & login) system. You can use all this with just a little JavaScript code—and it's free for smaller apps.
In this example, we'll look at setting up a Firebase database to store the number of 'likes' a blogpost has earned, as well as the HTML, CSS and JavaScript code that we'll need to get the Like buttons working.
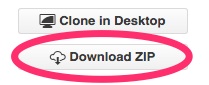
You can view our example code on GitHub here: https://github.com/londonacademyofit/like-button
Notice the 'Download ZIP' button on the right-hand side of that page, which makes it easy to grab the whole project and get it running on your own computer.
Step 1: Create a Firebase account
First of all, you'll need to head to Firebase.com to register for a free account.
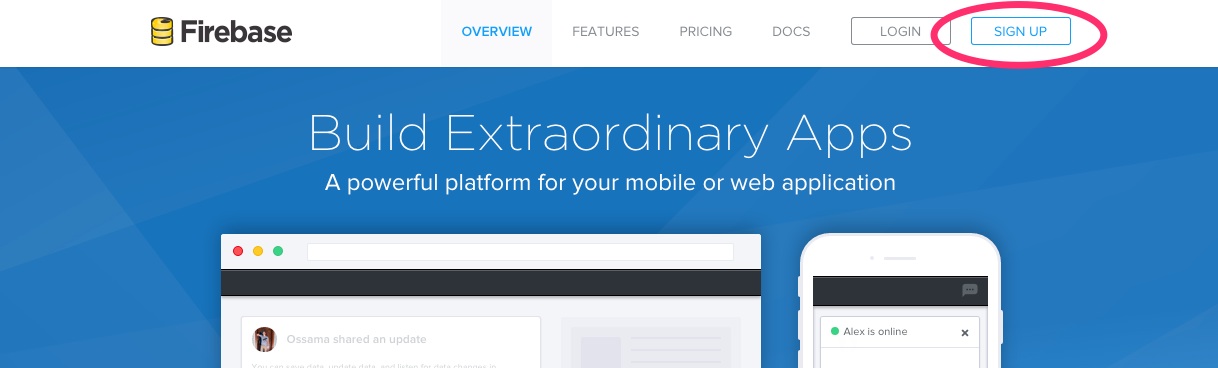
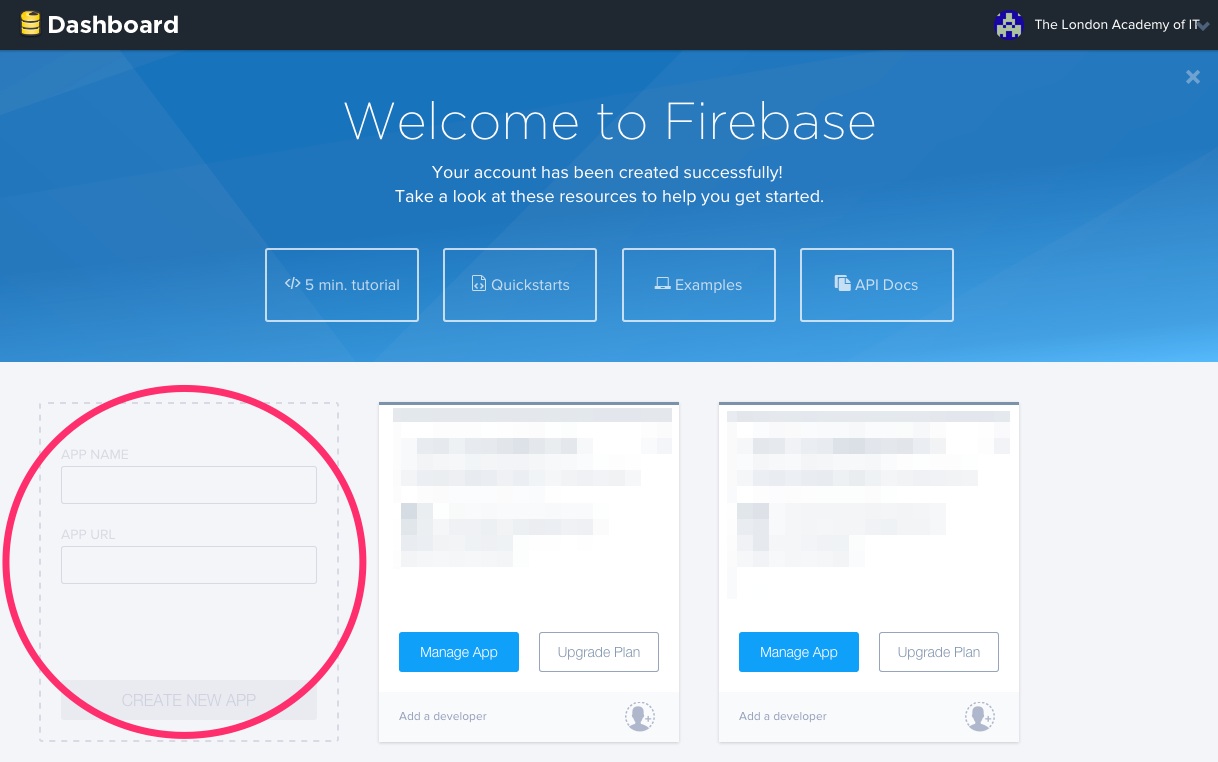
Once you've signed up and logged in, you'll see that your main Firebase account area is where you create your individual Firebase databases.
Create a new one now, named something like 'my-blog' (though you might need to add some numbers to the end of the name, as every Firebase needs a unique name to create a unique URL).
Then, you can click on 'Manage App' to open up this Firebase database's Forge view.
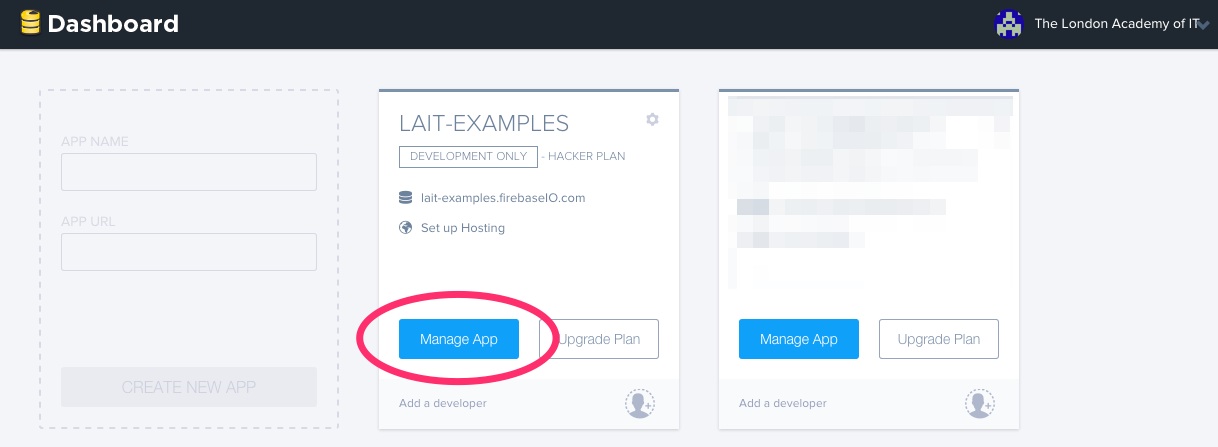
In the Forge view, you can view & edit your Firebase database's data. You can also adjust its security settings and enable or disable different types of user authentication.
These are very important and useful features, so after you've finished this tutorial be sure to read the Firebase documentation on how to use them.
Step 2: Consider a UI framework for rapid prototyping
If you're creating a test project like this, or developing a prototype to show others, you don't need to put up with unrealistic, unstyled HTML.
By using a CSS framework like Bootstrap or Foundation, you can take advantage of a lot of pre-written code to style your prototype.
You'll likely want to avoid using too much framework code in any final projects, because it will look a little generic if you don't implement custom visual elements.
Plus, good design puts the user first, and of course no generic framework would have been built with your particular users in mind.
However, in the early stages, taking advantage of a framework can speed up initial development, allowing you to get straight to the important stuff—building new features and testing them carefully.
Step 3: Create a blog page layout
In our example project, we've used Zurb's Foundation framework. You'll see various classes on elements, which are how we use Foundation's grid system (for columns and rows) or buttons.
The grid system is built on 12 columns. So we can create a full-width column for our introductory text like this:
<div class="row">
    <div class="small-12 columns">
        <p>Intro text goes here.</p>
    </div>
</div><!--.row-->
And, above that code, we can make a full-width image area like this:
<div class="hero">
    <h1>Example Blog Site</h1>
</div>
We need to add a little bit of custom CSS to our 'hero' class to implement our background image. You can check that if you want to do the same.
You'll also see in our example that we've manually included an ID for each post in the ID attribute of each <div class="post"> element. In a real blog-style website, this would be added by the templating part of the content management system.
For example, the WordPress <?php get_the_ID(); ?> function can be included in any section of your theme code where the loop is running to print a list of posts.
Important: Don't forget to include references to all the required CSS and JavaScript files in your index.html file. For example, the CSS files we're using are:
<link rel="stylesheet" href="css/normalize.css">
<link rel="stylesheet" href="css/foundation.css">
<link rel="stylesheet" href="css/custom.css">
And the JavaScript files we're including are:
<script src="https://cdn.firebase.com/js/client/2.2.7/firebase.js"></script>
<script src="js/like-button.js"></script>
Notice where these link and script tags have been included by checking our example index.html page.
Step 4: JavaScript variables & functions
First, we'll need to store some importance references using variables. For example, we can store a handy string variable containing our full Firebase database URL so that we don't have to keep typing it later:
var firebaseURL = 'https://[YOUR-FIREBASE-NAME-HERE].firebaseio.com/like-button/';
(Be sure to replace [YOUR-FIREBASE-NAME-HERE] with your own Firebase database's name.)
We can also capture an array containing all of the <div class="post"> elements on our page, so that we can easily grab the post's ID. We'll also be able to update that post's <span class="like-count"></span> element once we've found out how many likes that post has.
var postDivs = document.querySelectorAll('.post');
We want to loop through each post <div> in this array to update the like count shown within that <div>. We'll use a function like this to do so:
function getLikeCount(postID) {
    var thisPostRef = new Firebase(firebaseURL + postID + '/like-count/');
    thisPostRef.once('value', function(snapshot) {
        if ( snapshot.val() ) {
            document.querySelector('#' + postID + ' .like-count').innerHTML = snapshot.val() + ' likes';
        } else {
            return false;
        }
    });
}
When this getLikeCount() function is called, with a post ID passed in, it will look for a section of your Firebase database with an ID that matches the post ID.
When we run thisPostRef.on('value', function(snapshot) {}), we're checking the data that exists in that section of the Firebase database. The function written in this line runs once we've seen what data is there.
If data exists, we can use the data as snapshot.val(). If no data exists, the value of snapshot.val() is null.
So, with our if statement, we check what the value of snapshot.val() is. If there's anything there, we assume it's a number (because our Firebase security rules only allow integers to be stored here) and update the post's like count accordingly.
If no data exists in the Firebase for this post, we exit the function.
We want to run this function for each post <div> in our document. We can use a simple loop to do so:
for (var i = 0; i < postDivs.length; i++) {
    var postID = postDivs[i].id;
    var numLikes = getLikeCount(postID);
}
The last function we need will be run whenever a 'Like' button is clicked.
function likePost(id) {
    var postRef = new Firebase(firebaseURL + id);
    postRef.child('like-count').once('value', function(snapshot) {
        var currentLikes = snapshot.val() ? snapshot.val() : 0;
        postRef.update({
            'postID': id,
            'like-count': currentLikes + 1
            }, function(error) {
              if (error) {
                console.log('Data could not be saved:' + error);
              } else {
                console.log('Data saved successfully');
              }
            });
        getLikeCount(id);
    });
}
Once again, this function takes a post ID and uses our Firebase database URL to connect to that post's section in the databse (if it exists).
We take a look at whether this post has any likes yet, using the same snapshot-grabbing method as in the previous function that we created.
Once we know how many likes exist, we can easily update this section of the Firebase database to contain one extra like.
Next, we write some code that will alert us if an error occurred with updating this data. This is very helpful for testing and debugging.
Finally, you'll see that we run the getLikeCount() function again, to make sure this post is correctly displaying the latest number of likes to the user.
Did you find this tutorial easy to follow? Do you have any extra questions, or notes that you'd like to add? Let us know in the comments box below.
