How To Back Up Your WordPress Site Properly
Tuesday 26 May 2015, by Lewis Swift

Jump to:
WordPress may be hugely popular thanks to its brilliant blogging features and easy-to-use admin dashboard, but these benefits come with a big downside: security risks.
If you have a WordPress website, hackers will regularly attempt to break into your files and database in order to take control of it.
There are also more innocent reasons why a WordPress website could be lost. Installing a new plugin that hasn't been tested properly could lead to problems with your database that are tricky to fix. Then the easiest route might to replace the database with a working backup.
Or customising your theme, when you're still a bit new to modifying WordPress code, could result in broken code that you're not certain how to fix. If you don't have a working backup of your theme's files, you'll be stuck in a tricky spot.
To protect your site you'll need a good security plugin as well as a backup plugin, so make sure you've read our guide to WordPress security plugins.
Used correctly together, these two types of plugins (one for security protection and one for backups) will protect you from ever losing your entire site.
Which Backup Plugin to Use
There are several strong contenders to list here. The most important features that a backup plugin should have are:
- The ability to automatically schedule backups so they run without you needing to initiate them
- The ability to receive email notifications about successful backups, or about any problem that may have occurred
- The ability to store a certain number of backups (ideally a certain number of file backups and a different number of database backups)
- The ability to easilystore backups in cloud storage like Dropbox or Google Drive
- The ability to quickly and easily restore your WordPress files and database from a backup
Some WordPress plugins that offer most or all of these features include:
For the purposes of the rest of this guide, we'll look at the UpdraftPlus backup plugin. It meets all of the criteria listed above.
Installing a Backup Plugin
-
Login to your WordPress Dashboard by visiting http://yourdomain.com/wp-admin/ and entering your username and password if you need to
-
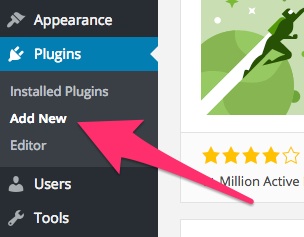
Visit the Add New Plugin area by hovering on 'Plugins' in the main left-hand menu and clicking 'Add new' in the submenu
-
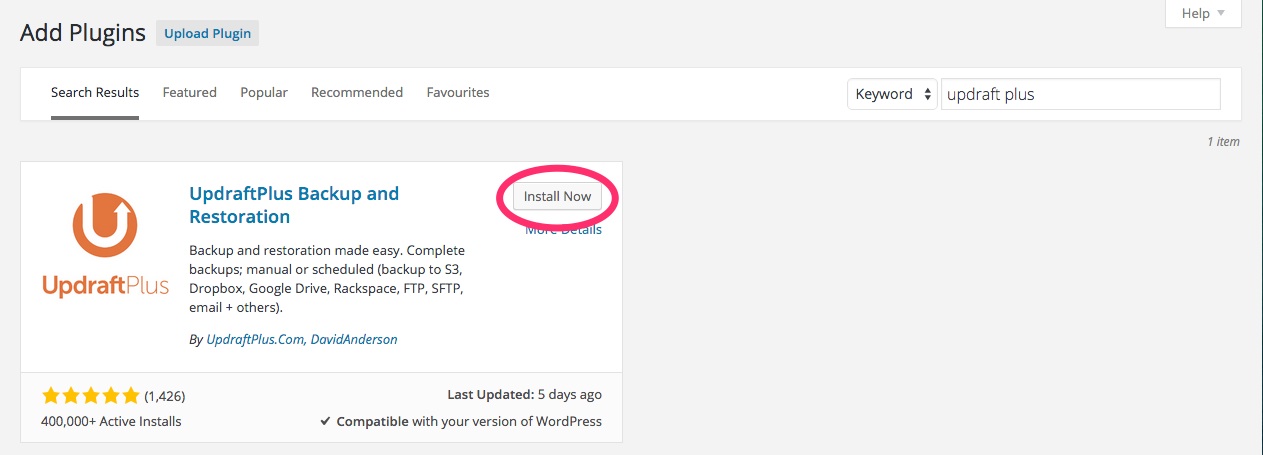
Search for your preferred backup plugin using the search box in the top-right of the Add Plugins area—type in the name of the plugin, or the kind of plugin, that you'd like and press 'Enter'

-
Install the plugin by clicking the 'Install Now' button and then clicking 'OK' to confirm (remember to always double-check a plugin's ratings and how recently it was last updated before installing it)
-
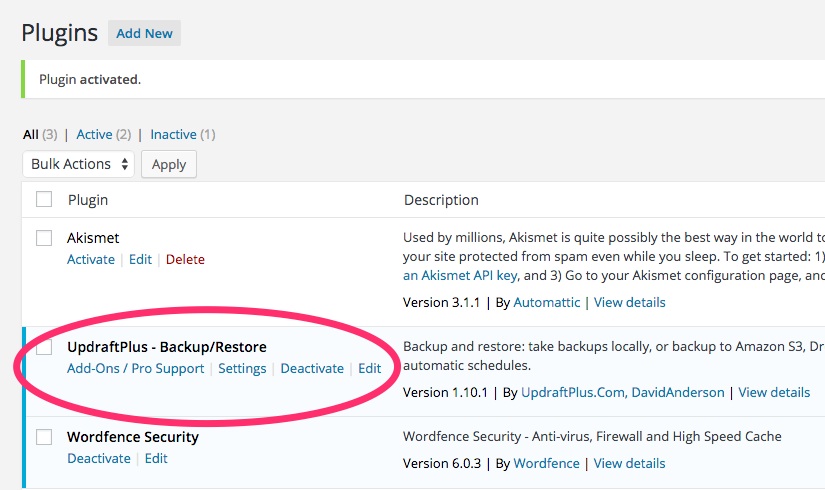
Activate the plugin once it has been installed

-
Confirm that the plugin is activated by reviewing your list of installed plugins
Configuring Your Backup Plugin
-
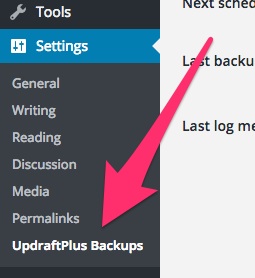
Visit the UpdraftPlus settings area by hovering on 'Settings' in the main-left hand Dasboard menu and then clicking on 'UpdraftPlus Backups'
-
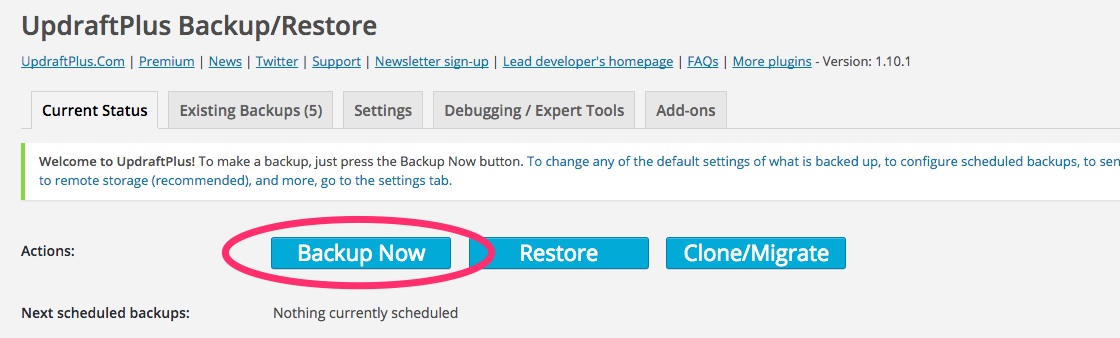
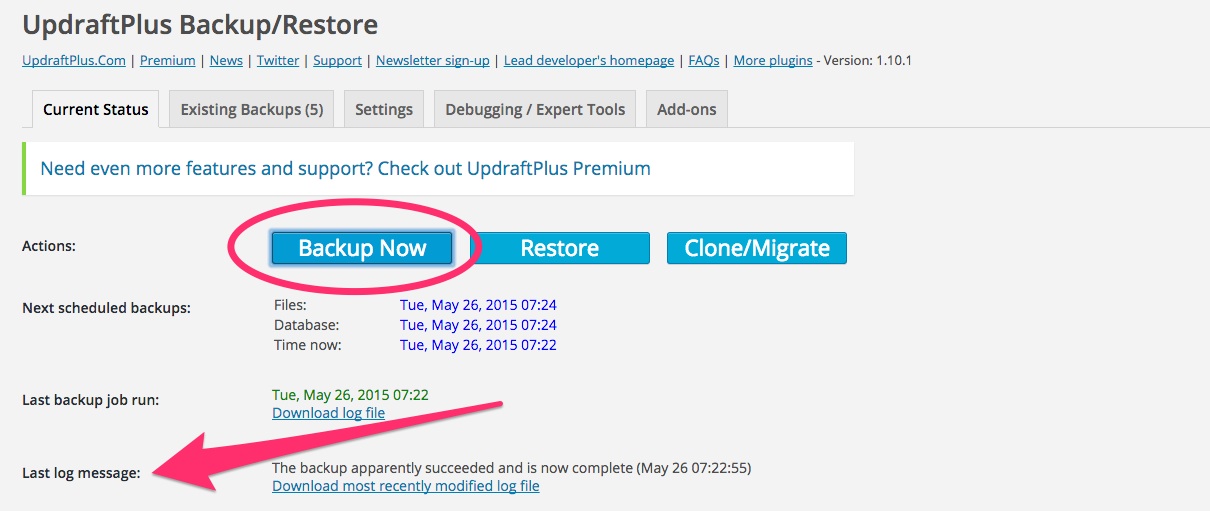
You can click on the blue 'Backup Now' button to create a quick backup that will, by default, be stored in the same location as your WordPress site (i.e. on the same server)—but only do this if your site is still quite new and you haven't got many posts, pages and uploaded images yet
-
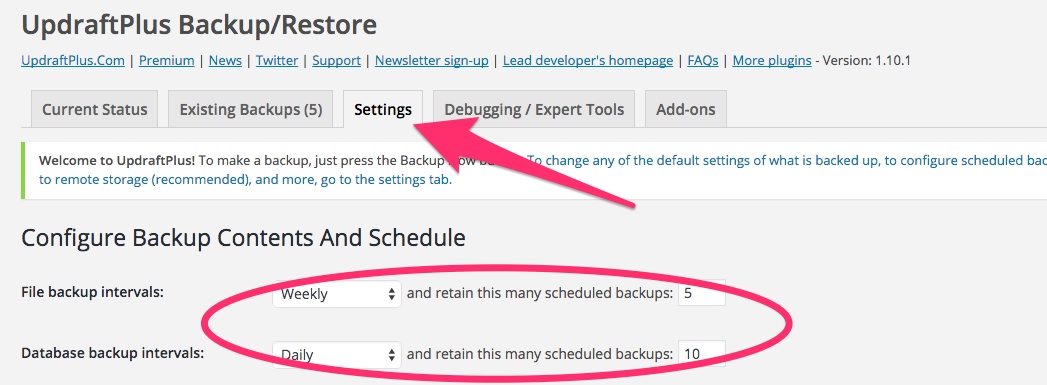
Next, click on the 'Settings' tab to configure your preferred schedule of automatic backups (I'd recommend daily for your database backups and weekly for your file backups, but you might want to increase the frequency if you publish new posts more than once per week and receive lots of comments on them)
-
Make sure to retain at least 4 file backups and at least 7 database backups (but you might wish to keep more of both types of backups if you update your site more than once per week)
-
You usually don't need to include plugin files in your file backups, because they can be easily re-downloaded from the WordPress Plugin Repository if you need them

-
It's a good idea to enable email reporting so that you get a notification about whether your backups are being completed successfully or not

-
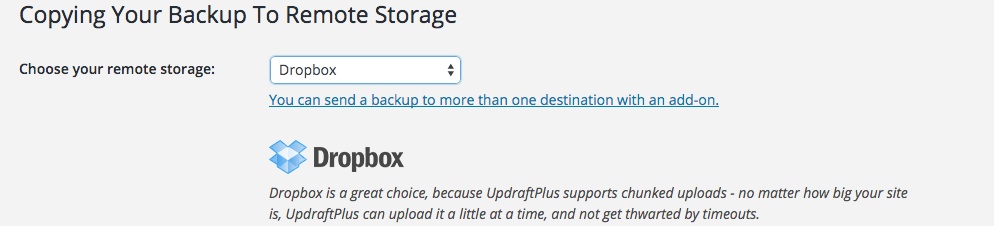
Store your backups in remote storage, like Dropbox, Google Drive or Amazon S3—each of these services offers several GB of storage space for free
-
Once you've selected your remote storage location, UpdraftPlus will show you a message about how to finish connecting to your remote storage account— make sure to follow these instructions now (if you have never done this before, you will likely find Dropbox easiest to connect to UpdraftPlus)
-
Once you've finished connecting your remote storage account (according to Updraft Plus' instructions), go back to the 'Current Status' tab and click the blue 'Backup Now' button to confirm that you've correctly connected UpdraftPlus to your remote storage service and that backups can therefore be completed
Checking Your Backups
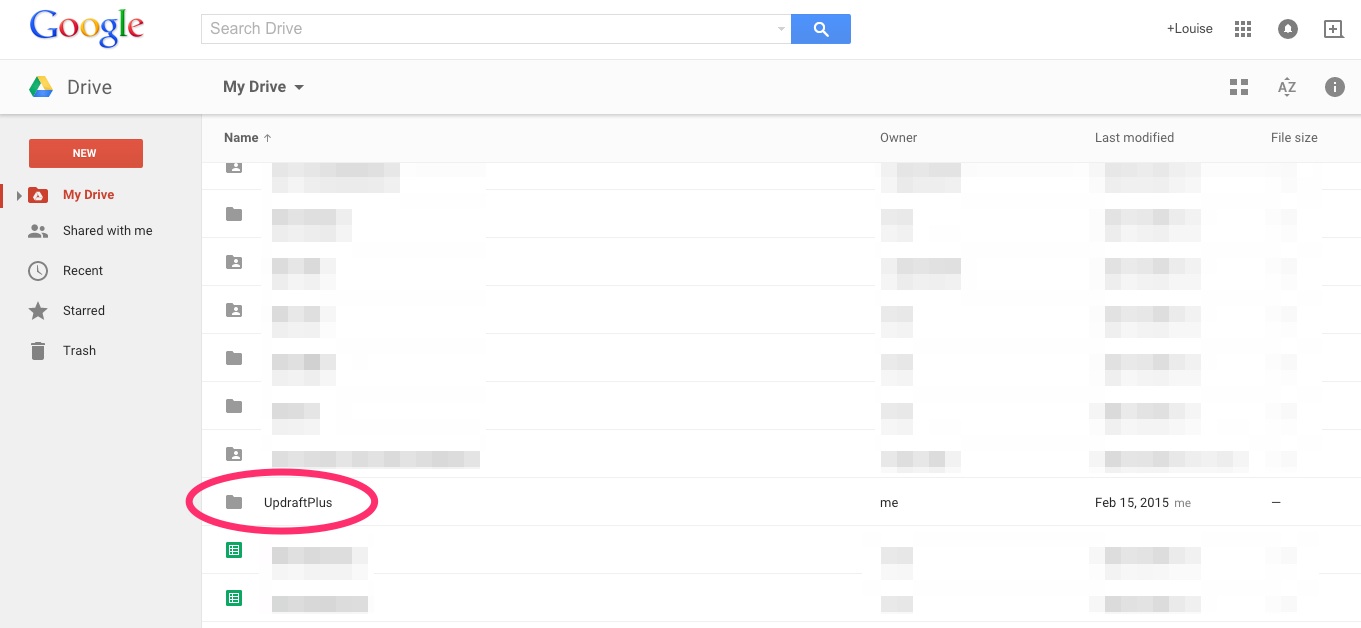
If you've used a remote storage service like Dropbox, Google Drive or Amazon S3 to store your UpdraftPlus backups, you can log into that service to check whether the backup files are, indeed, being put there.
For example, using Google Drive to store UpdraftPlus backups means that a folder named 'updraft' is created in your Google Drive account. You can look in that folder to see the backups, as shown in the screenshot below.
Restoring Your Site from a Backup
If you find that you need to restore either your site's files or its database (or both) from a backup, you can do this easily with UpdraftPlus.
-
Once again, login to your WordPress Dashboard, hover on 'Settings' in the main left-hand menu and click 'UpdraftPlus Backups'
-
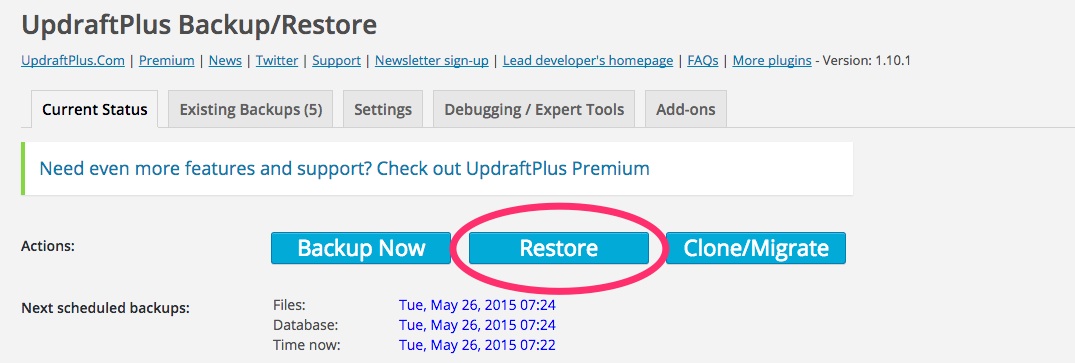
If you click the blue 'Restore' button here, it will take you to the 'Existing Backups' tab where you'll see a list of the available backups of your site
-
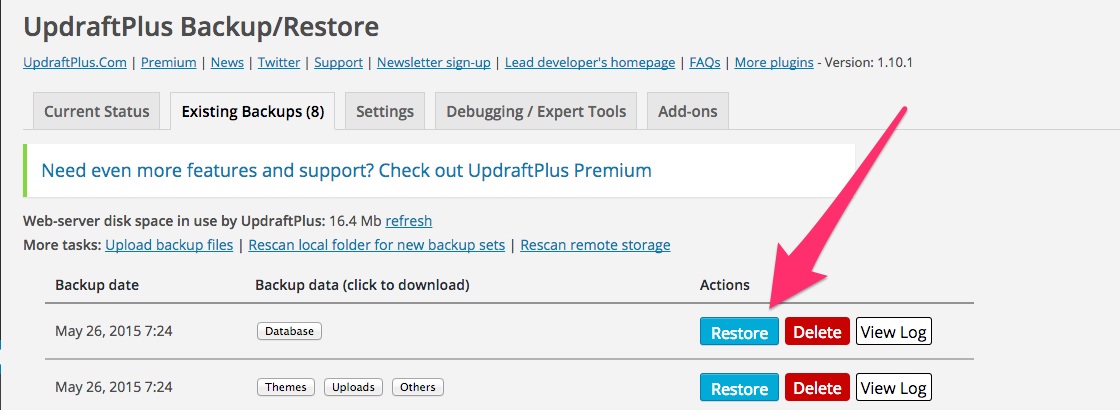
Choose the backup that you want to use, click 'Restore' again and a small pop-up will appear asking you exactly what you'd like to restore (i.e. the database, your theme files, your plugin files, or some combination of these)
-
Once you've chosen exactly what you'd like to restore, click 'Next' and UpdraftPlus will look for the requested backup files

-
If the requested backup files are found, you can click 'Restore' once more to overwrite your current database and/or files with the backup versions