In this tutorial, you will learn how to install Visual Studio Community 2017 step by step. You can download the installation file from the Microsoft’s website. The version that we are going to install here is 15.9.21 which you can directly download by clicking the button bellow:
Download Visual Studio Community 2017
Once the file is downloaded, double click to run it to start installation window.
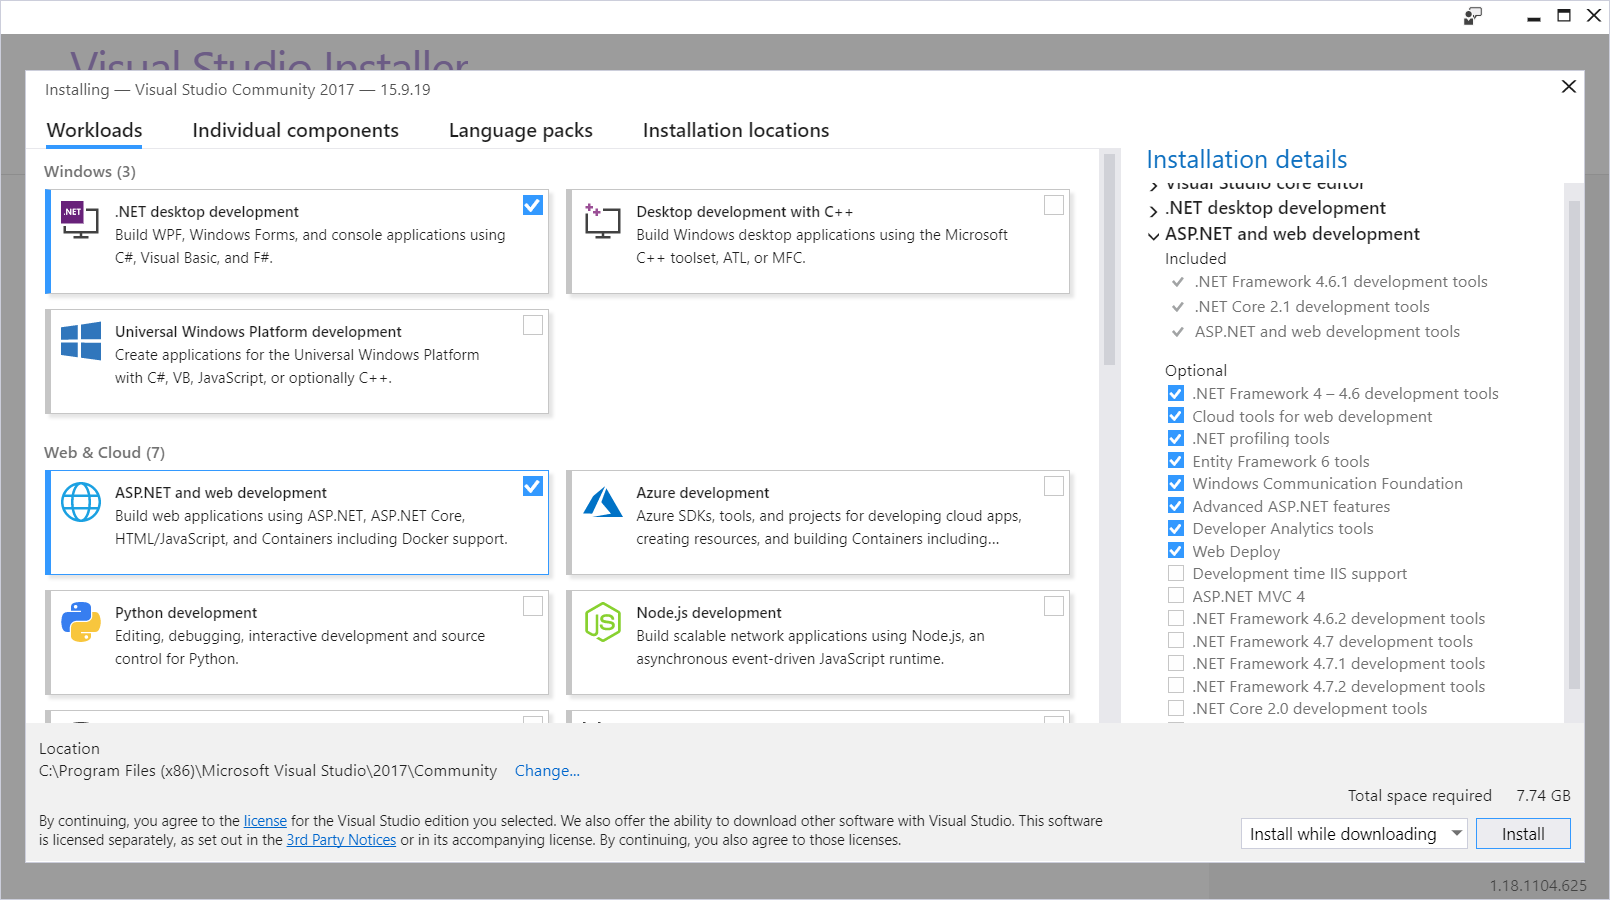
Select the components you want to install with Visual Studio 2017. I recommend you to select the following components for our courses:
- .NET desktop development
- ASP.NET and web development
- Data storage and processing

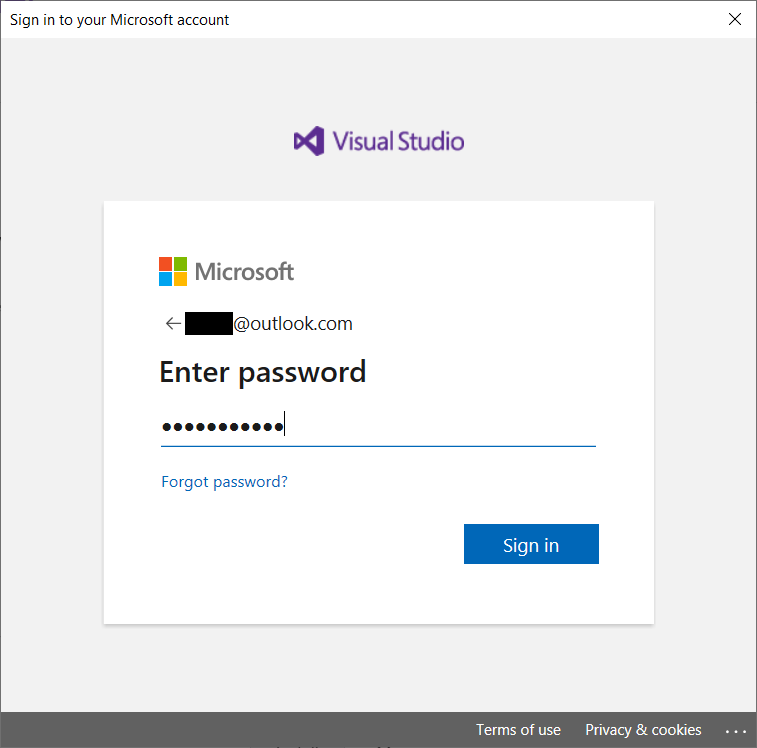
Once installation is completed, you need to Sign in with your Hotmail/Outlook account to register your software.

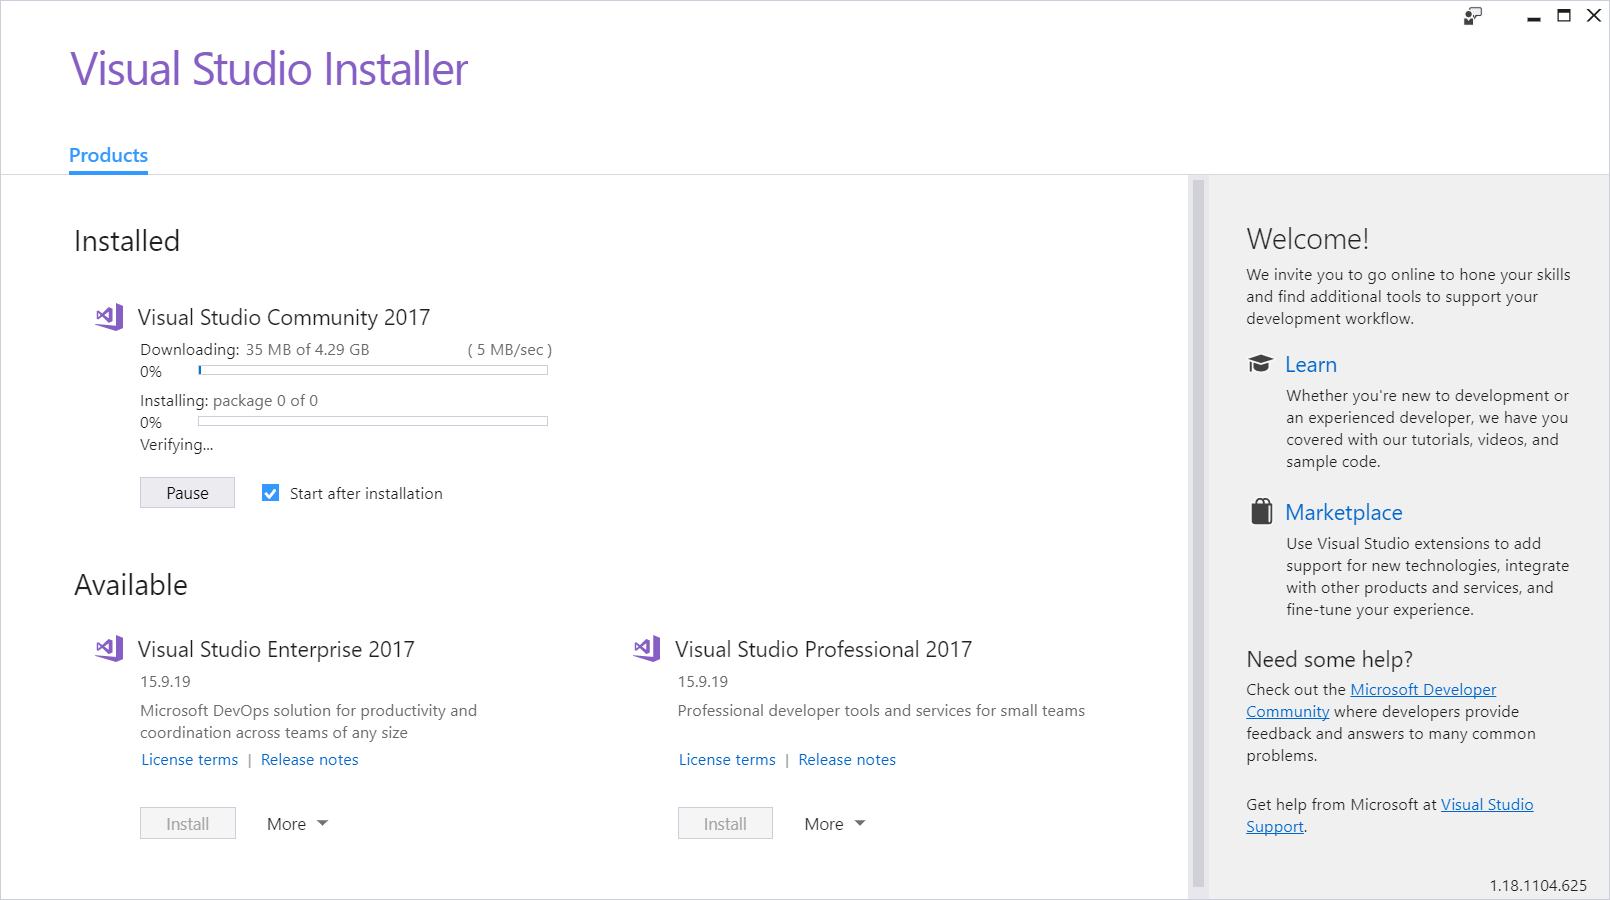
It may take a while to download and install all the components. Wait until the installation is completed.
Once installation is completed, you need to Sign in with your Hotmail/Outlook account to register your software.
Congratulations! Your installation is completed. You can now launch and start using your Visual Studio 2017 software.