In this tutorial, you will learn how to install SQL Server Data Tools (SSDT) for Visual Studio 2017. You can download the installation file from the Microsoft’s website. You can also download the installation file directly by clicking the button bellow:
Download SSDT for Visual Studio 2017
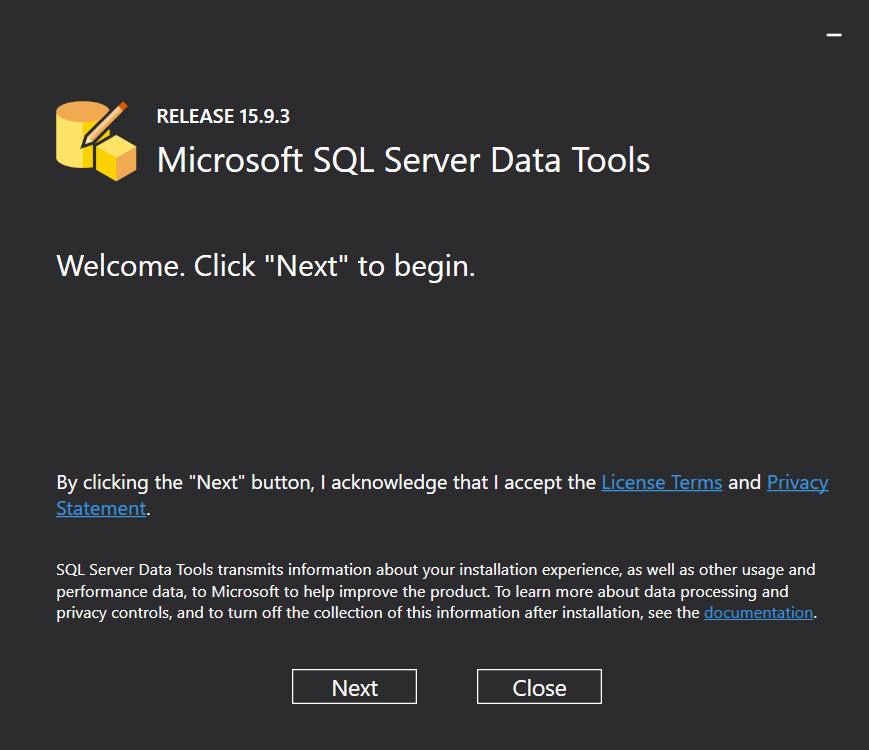
Once the setup file SSDT-Setup-ENU.exe is downloaded, double click the file to start installation. Welcome page will appear. Click the Next button to proceed.
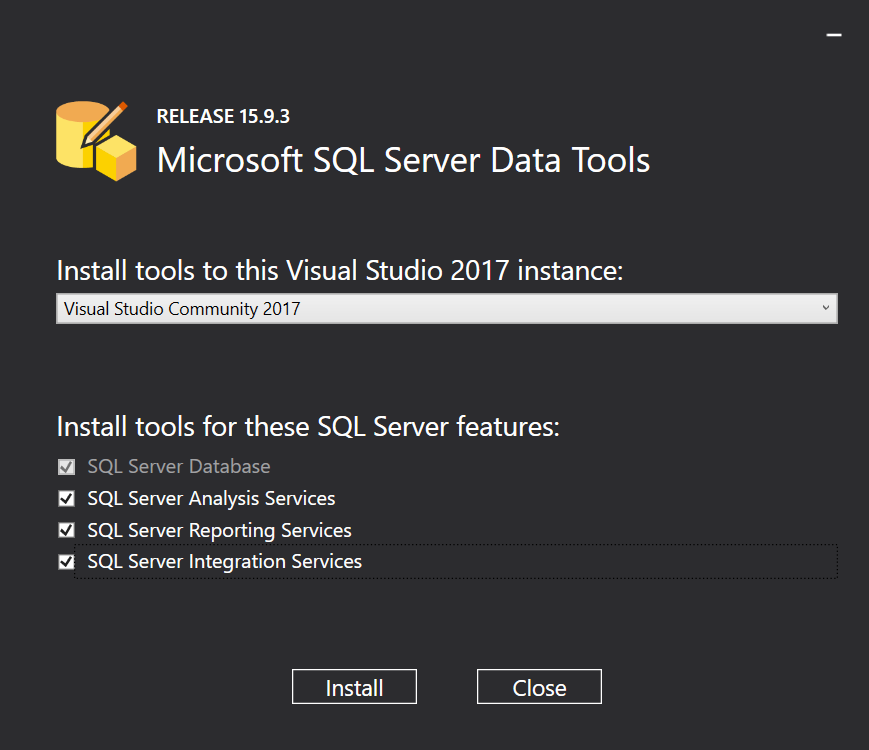
Select ‘Visual Studio Community 2017’ from the drop-down list. Check all the features you want to install. Click the Install button to proceed.
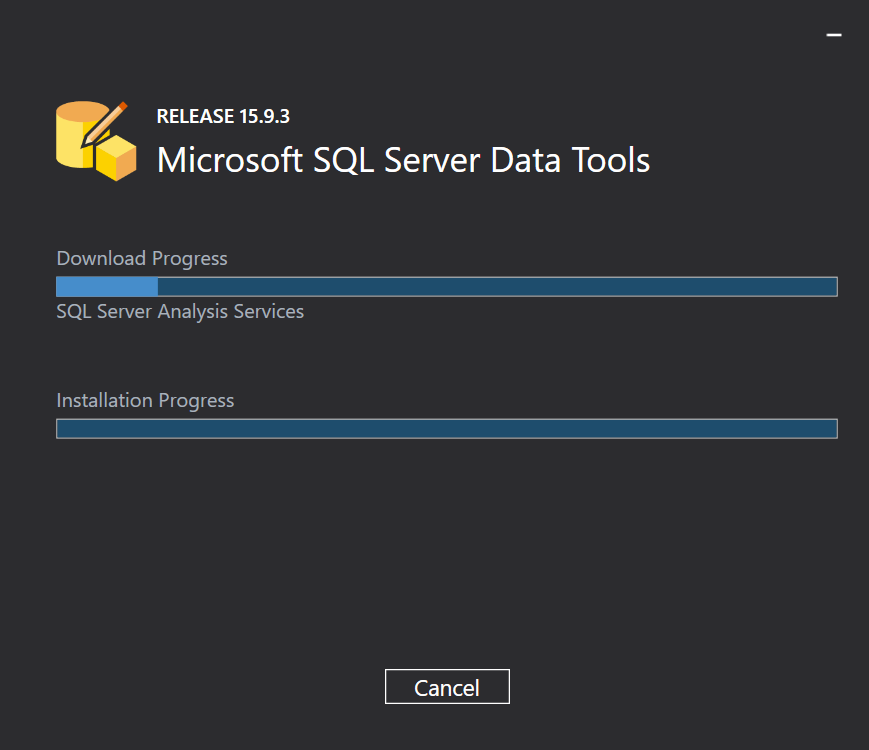
Wait until the download and installation are completed.
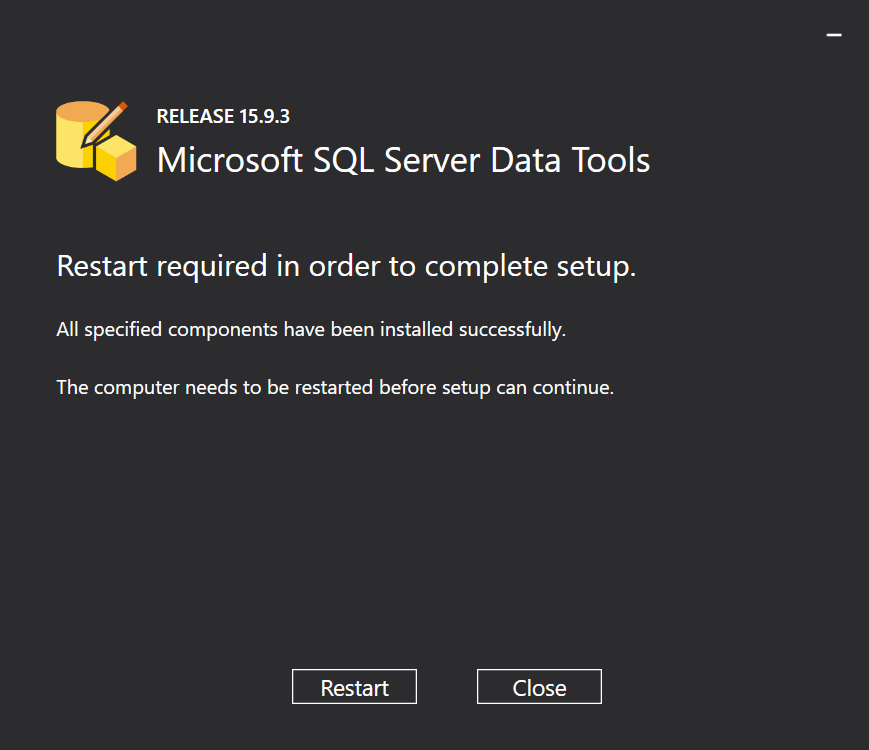
Once installation is completed, click the Restart button to complete setup.
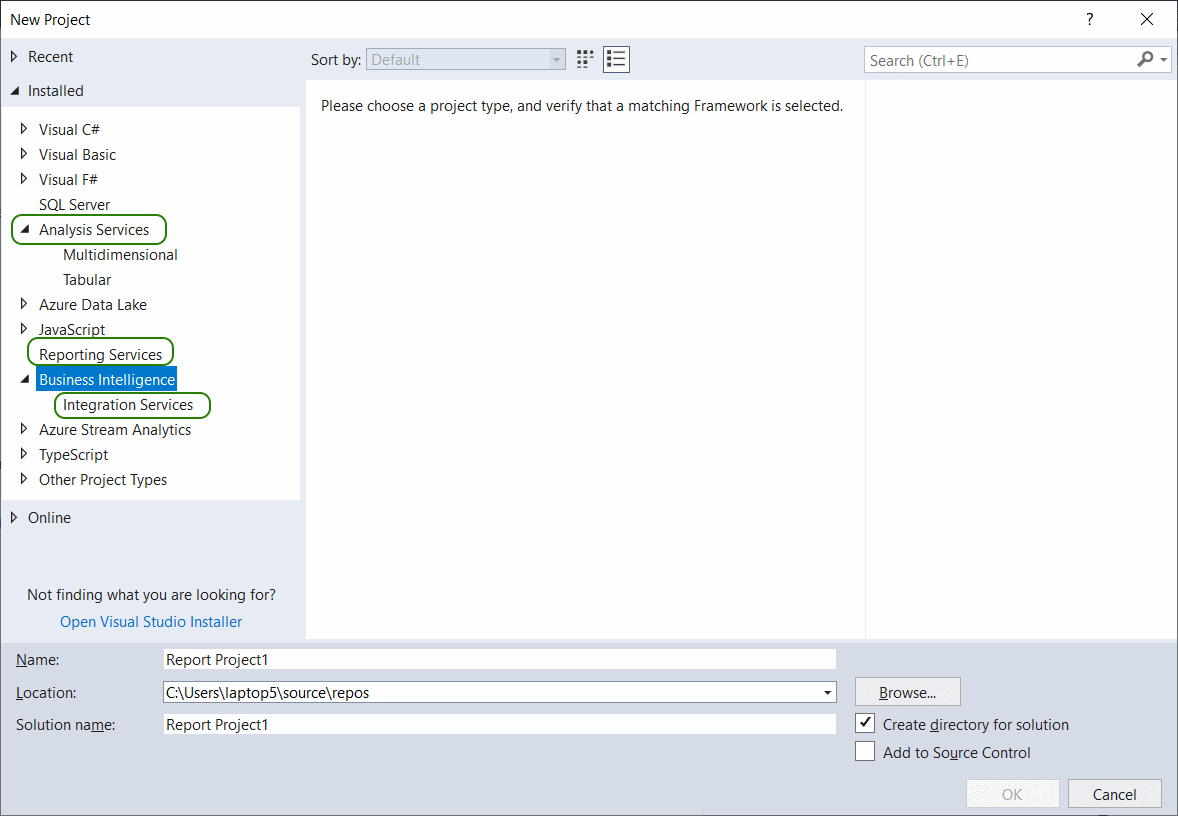
After restarting your computer start Microsoft Visual Studio 2017. To confirm the installation of SSDT go to File > New > Project…
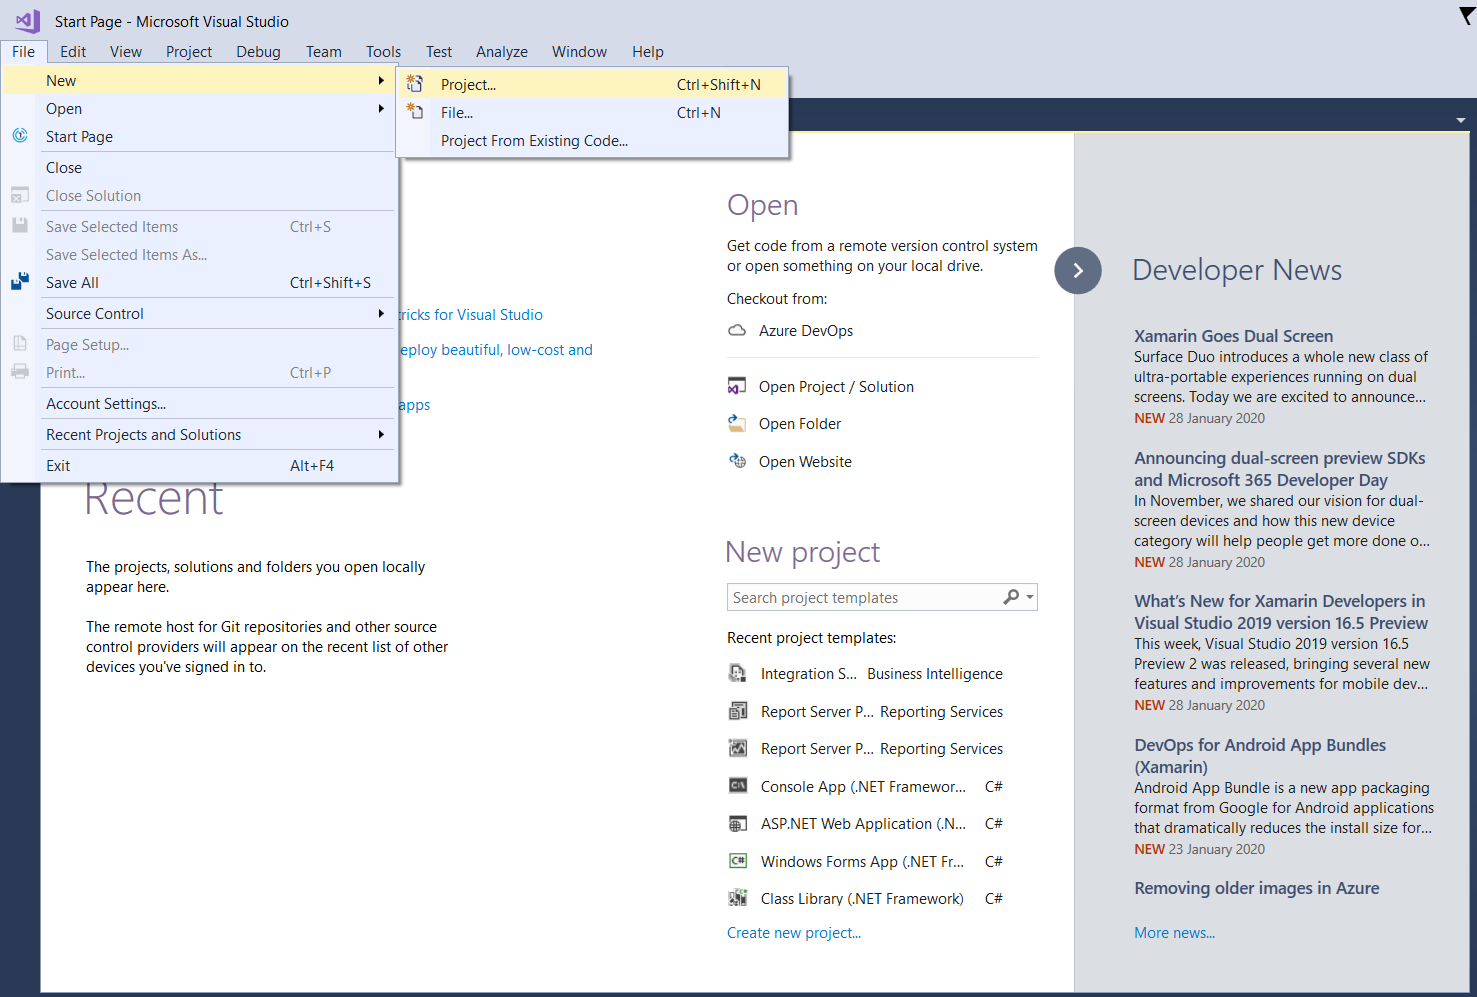
Make sure that your selected features (Integration Services, Reporting Services and Analysis Services) are installed. You may click the Cancel button to this dialog-box.