In this article you will learn how to install and configure Microsoft SQL Server Reporting Services. You can get the page link to download and install this tool at SQL Server Installation Center.
For our students and others who followed our previous articles to download and install Microsoft SQL Server 2017, we provided direct download link bellow for Microsoft SQL Server 2017 Reporting Services (October 2017):
Download Microsoft SQL Server 2017 Reporting Services
Execute the downloaded file 'SQLServerReportingServices.exe' to start Microsoft SQL Server 2017 Reporting Services
Click on the Install Reporting Services to proceed.

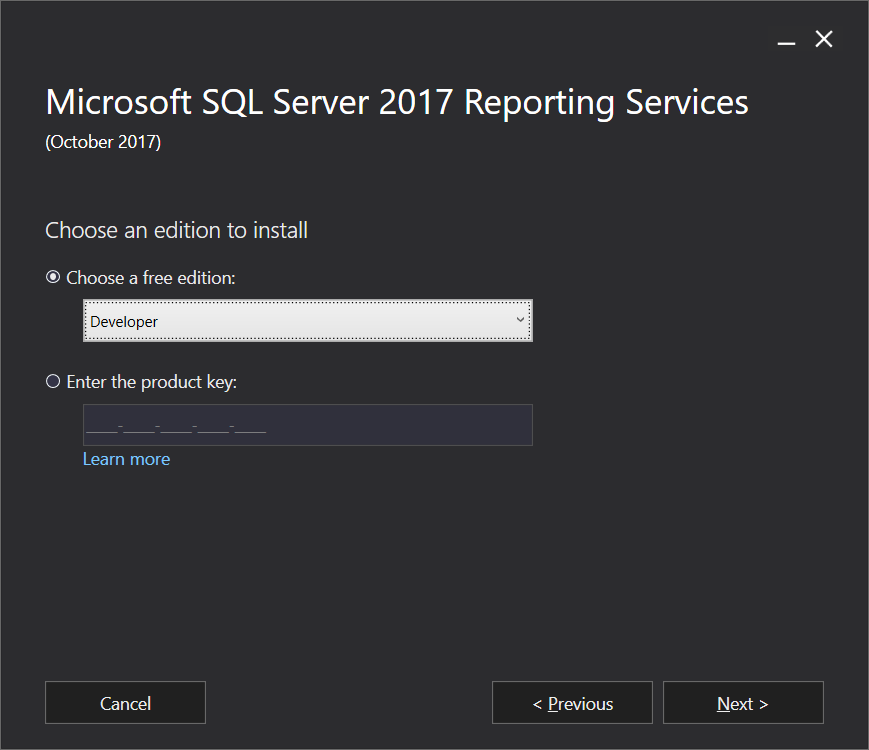
Choose an edition to install. Here I’ll change the default Evaluation option to Developer. It is free for students and developer.
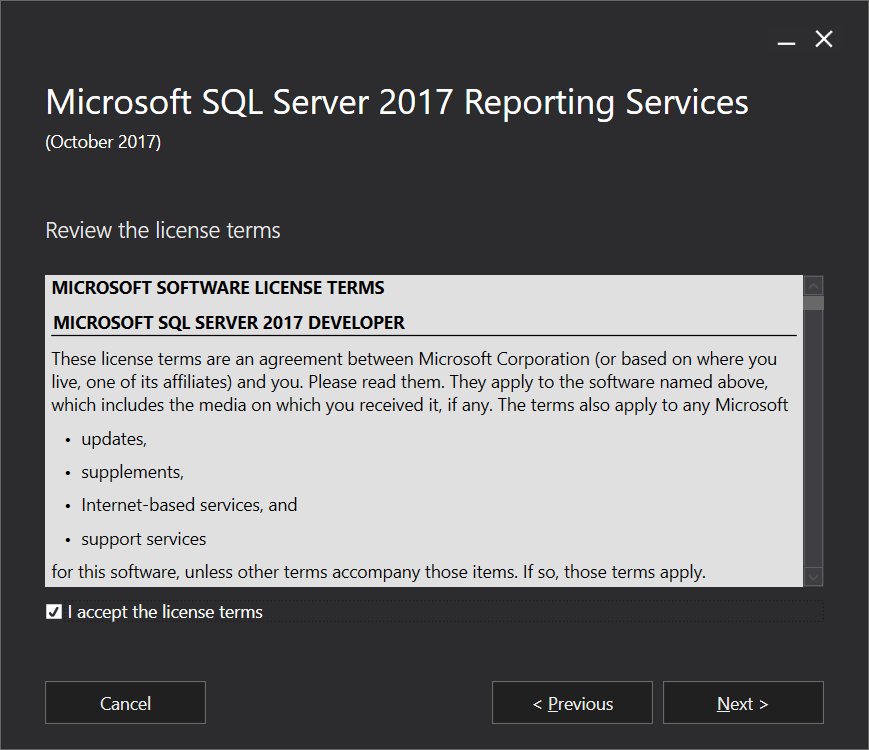
Accept the license terms and click the Next button.
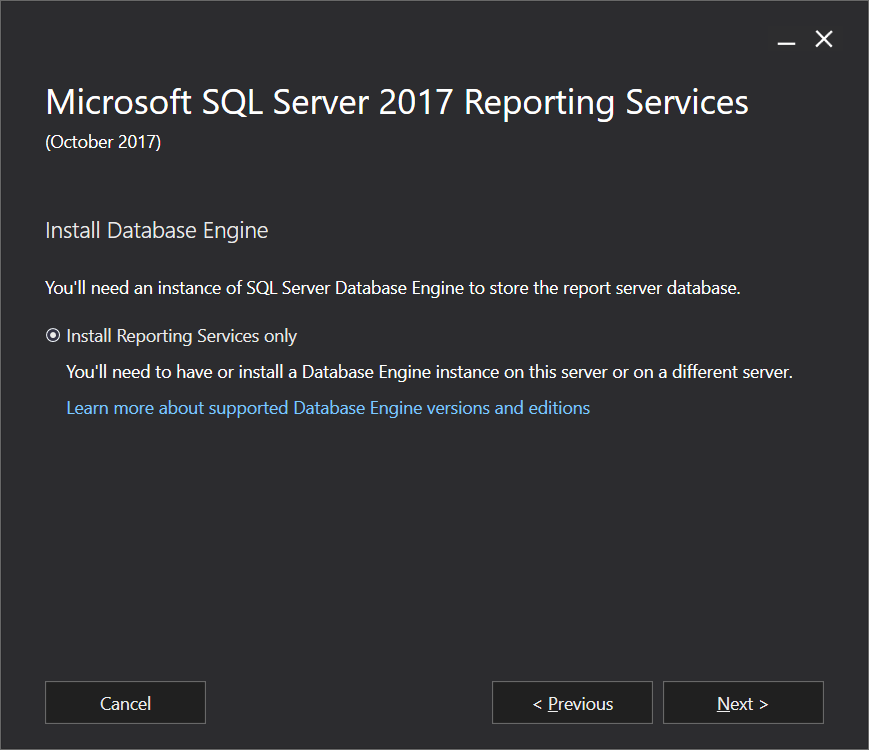
You’ll need an instance of SQL Server Database Engine to store the report server database. Make sure the Install Reporting Services only option is selected and click the Next button.
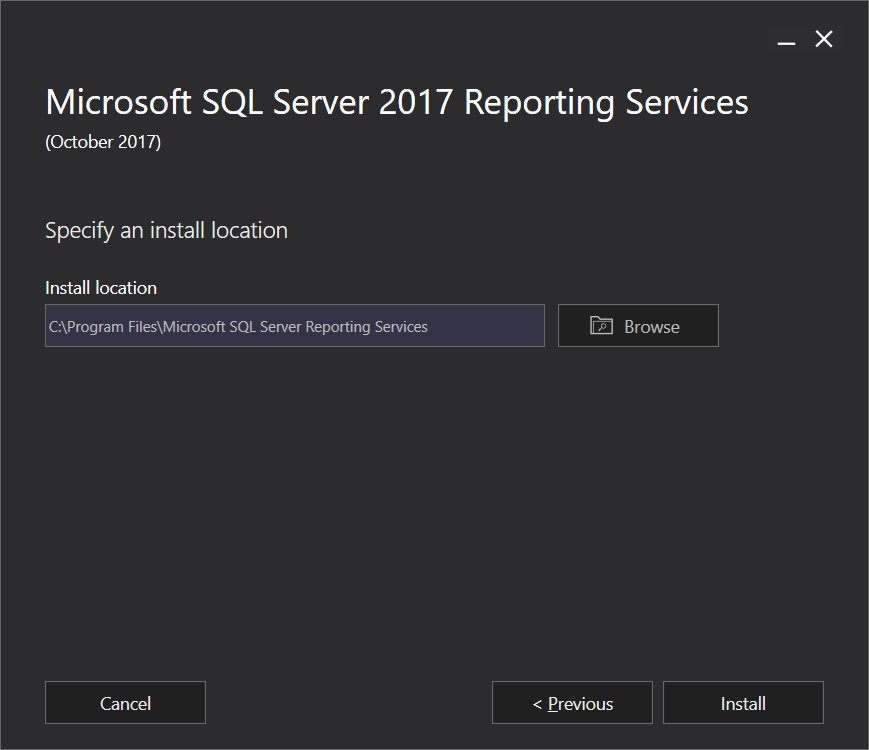
Keep the default install location or change it if you want and click the Next button.
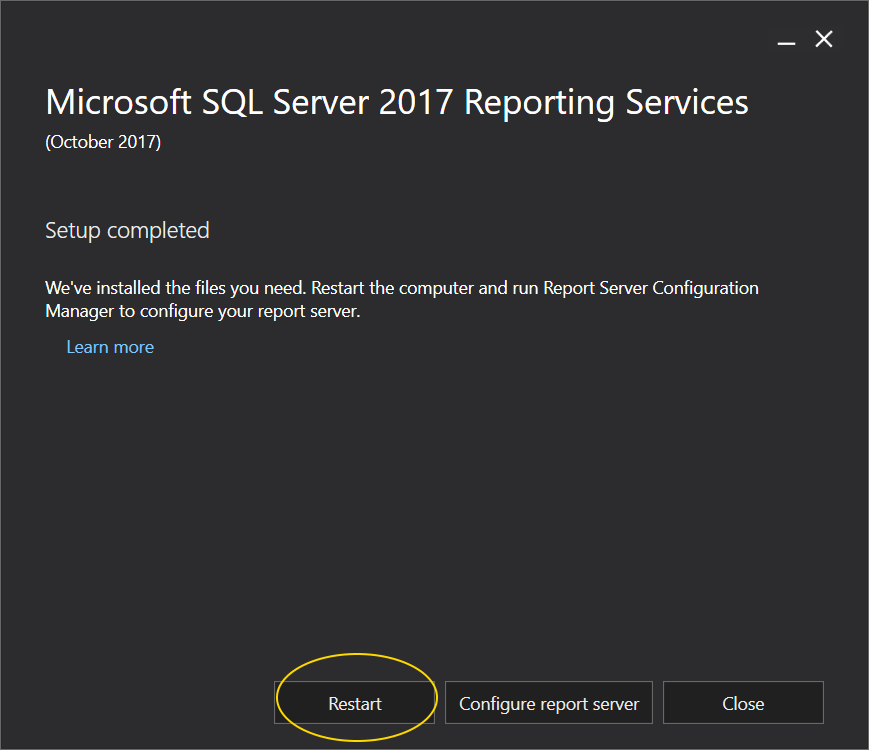
Installation will start at this point. After a while once the setup is completed, you will see the confirmation message.
Click the Restart button to restart your computer.
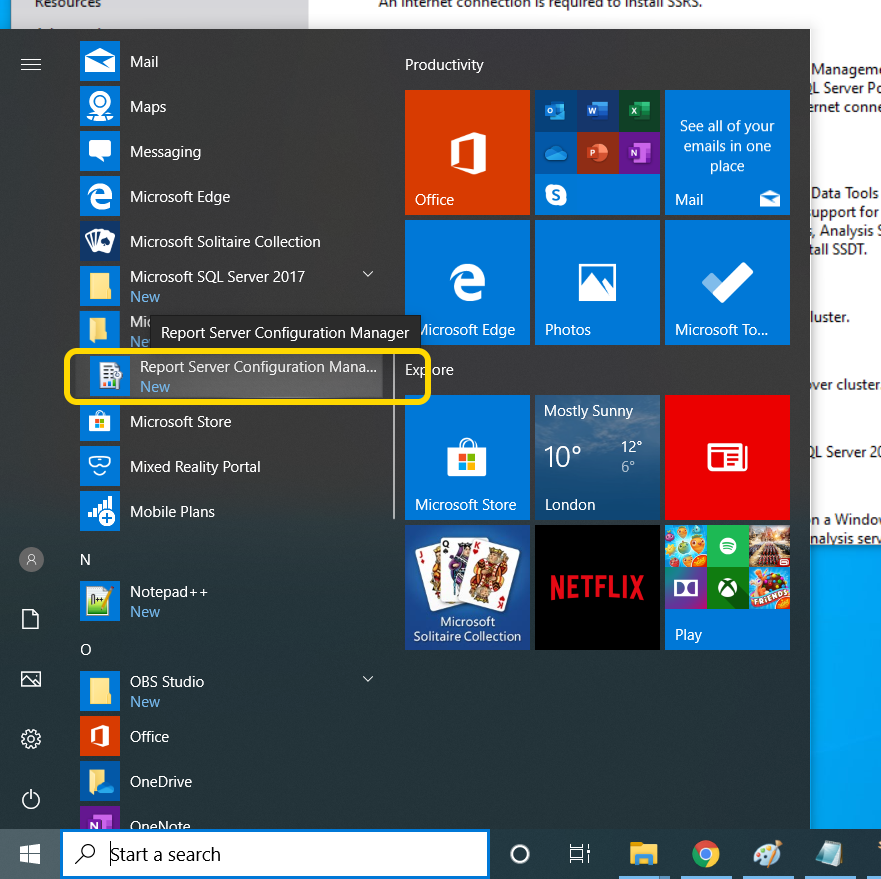
Once your computer is restarted, search for the newly installed Report Server Configuration Manager tool. Click it to start.
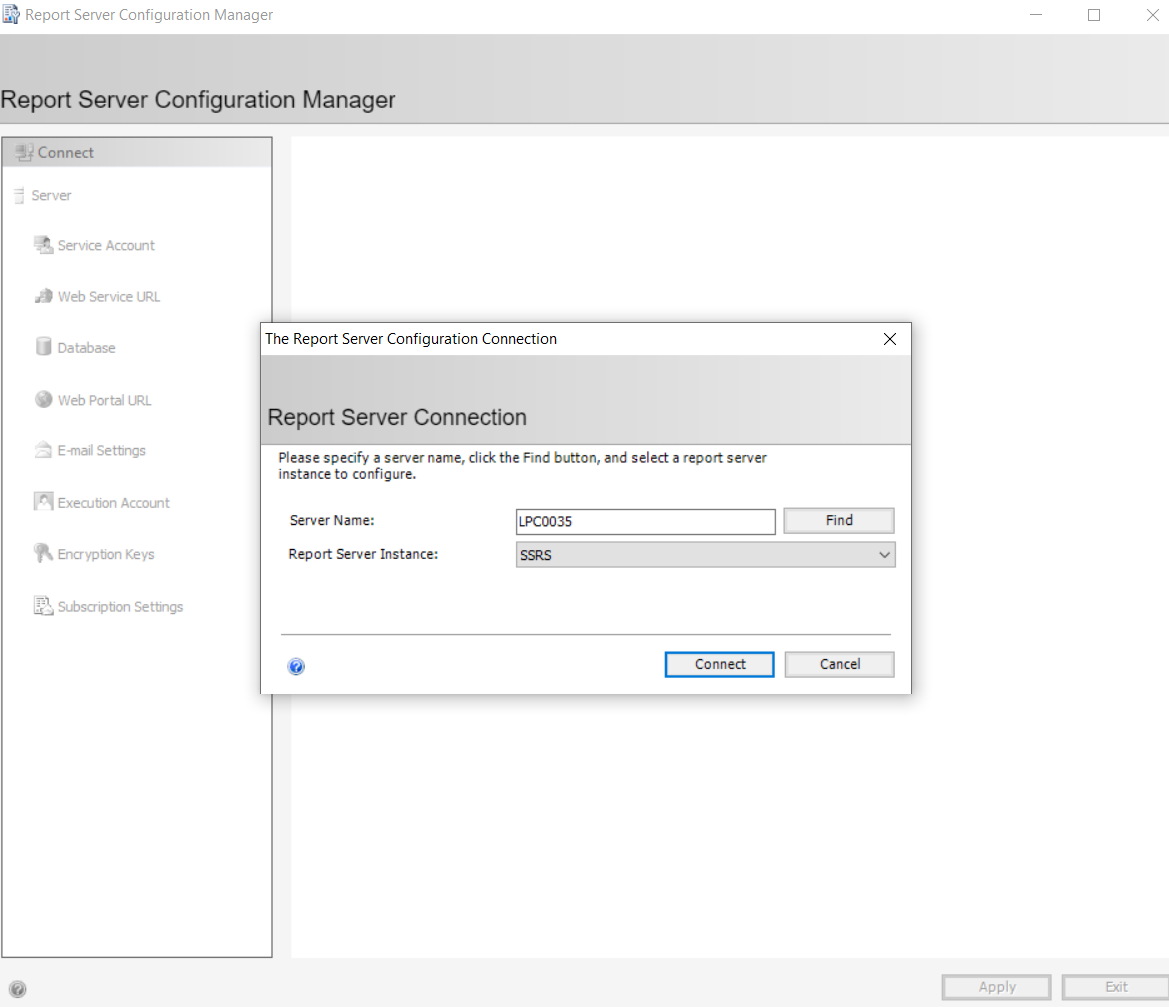
Report Server Connection dialog box will be shown. Make sure the server name and report server instance name are right. Click the Connect button.
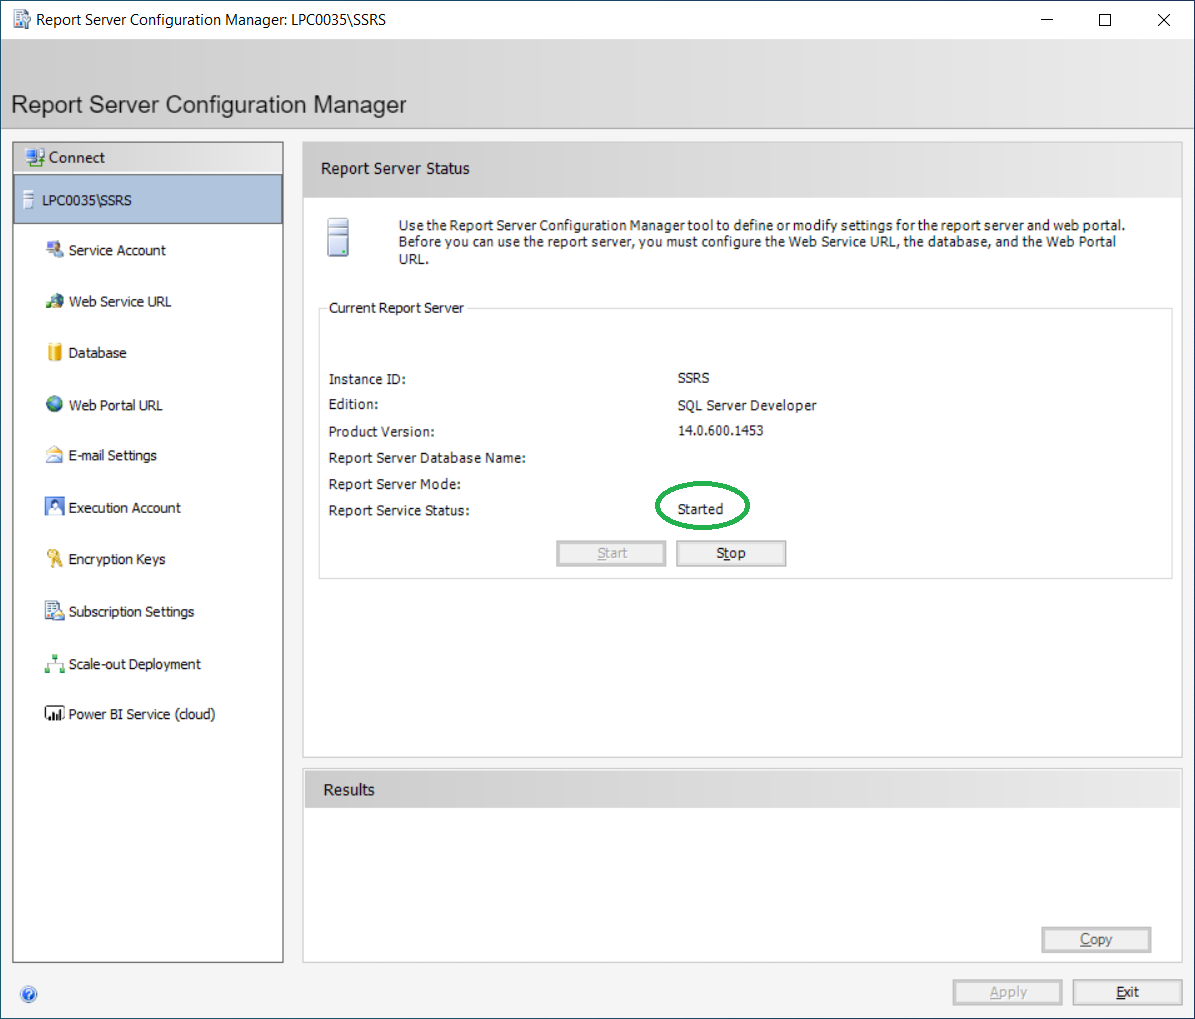
On the Report Server Status, make sure the server status is ‘Started’.
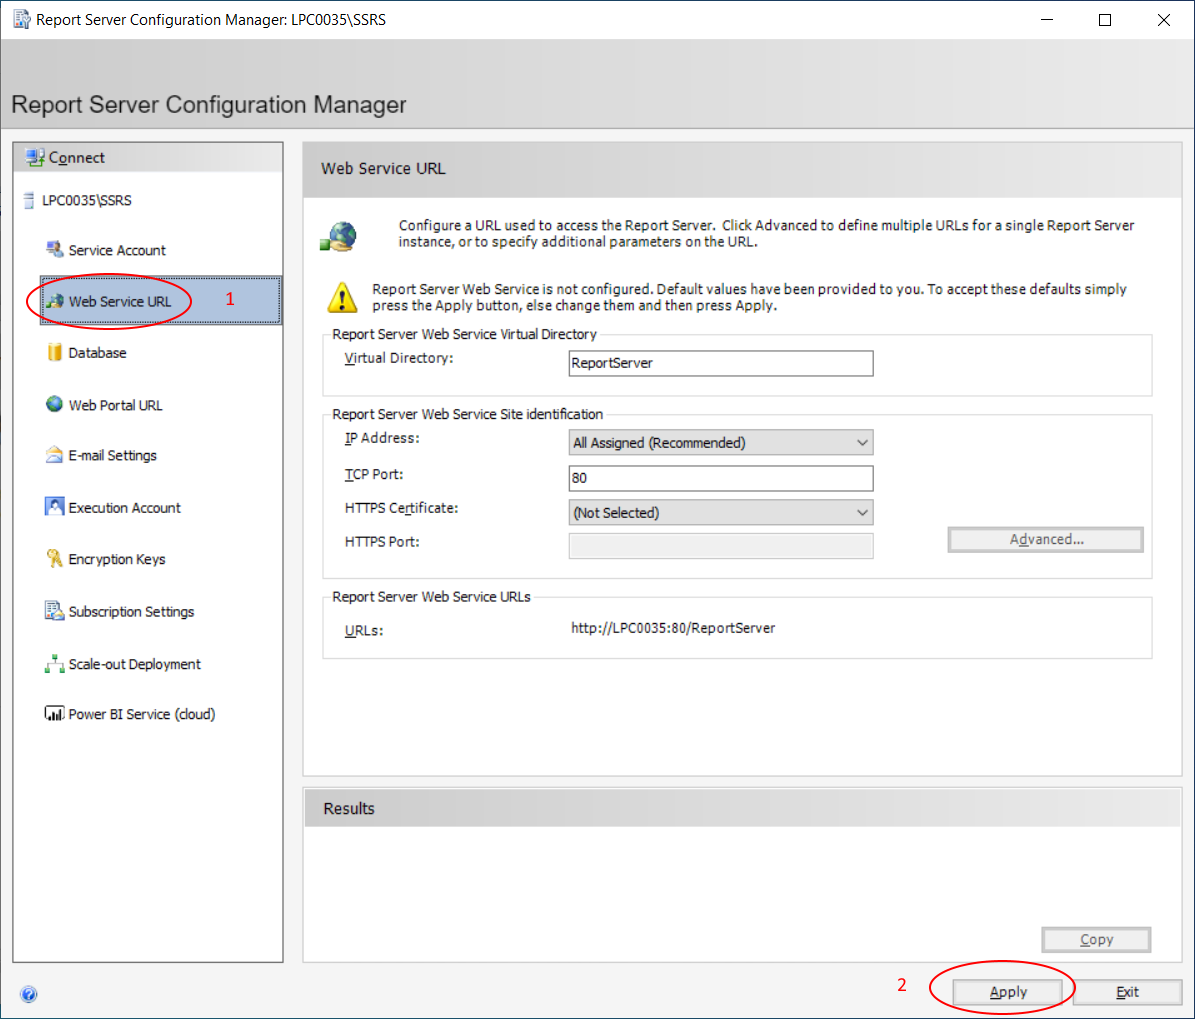
Click on the Web Service URL tab. Click Apply to configure a URL used to access the Report Server.
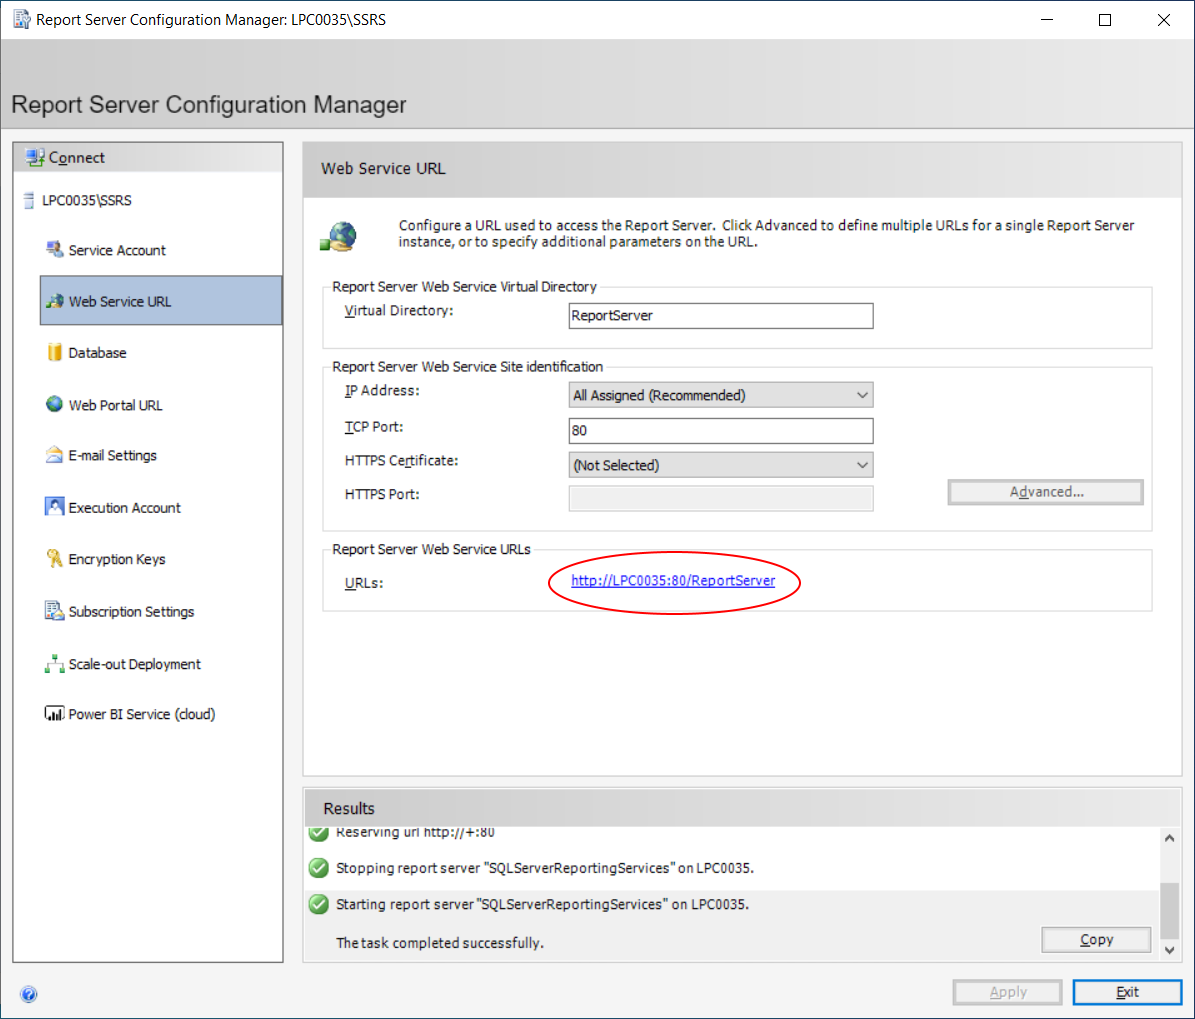
Check that the Report Server URL has been created. You do not need to click the link now.
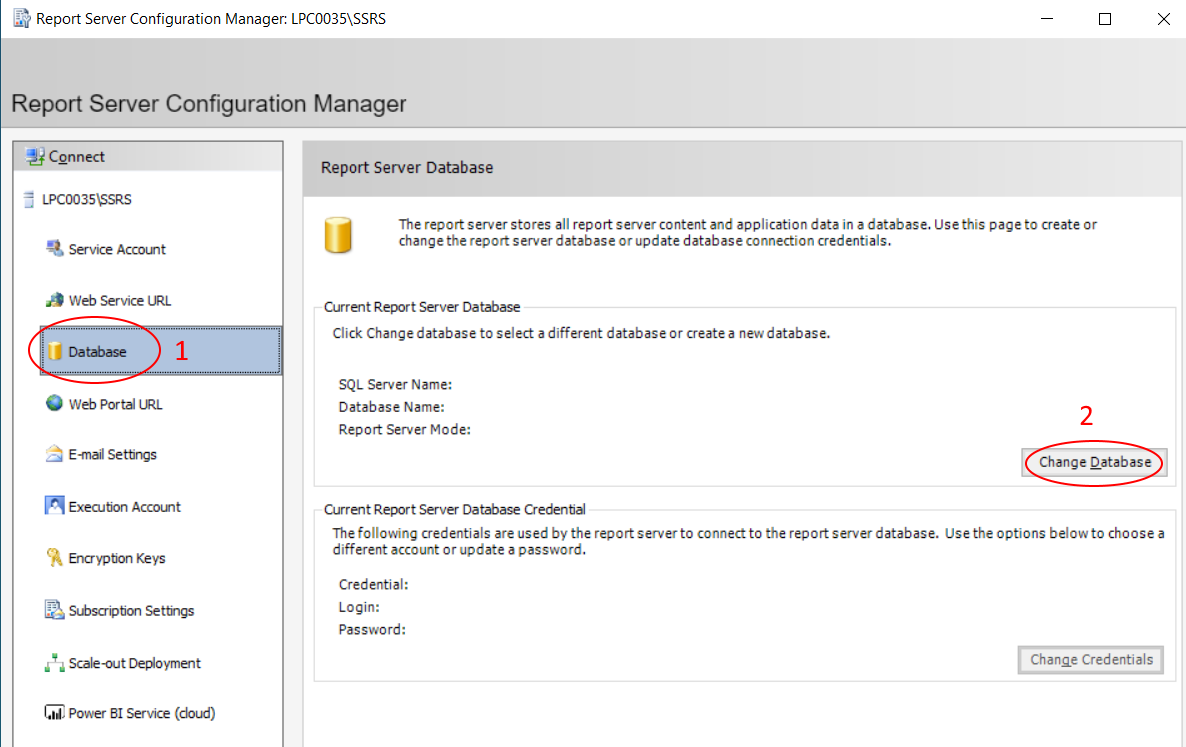
Click on the Database tab. Click on the Change Database button to create or change the report server database.
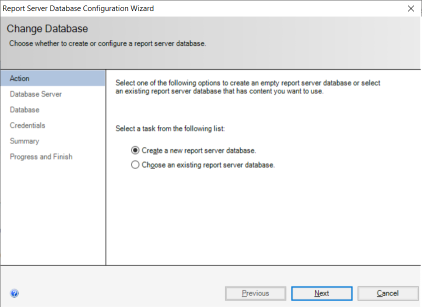
On the Change Database window, select Create a new report server database and then click the Next button.
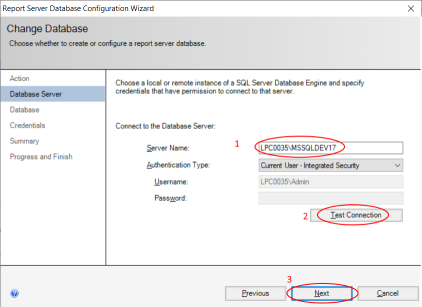
On the Database Server page, update the server name if the default server name is not correct. If you have server instance name then that you also need to include. You may start SQL Server Management Studio to check your server name with instance (if any).
You may click the Test Connection to verify the connection. Click the Next button.
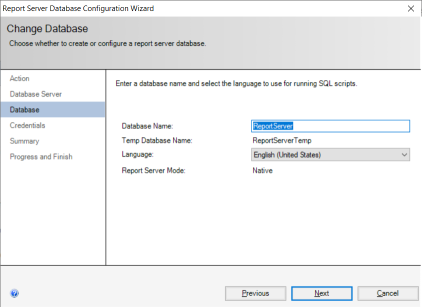
Accept the suggested database name and click the Next button.
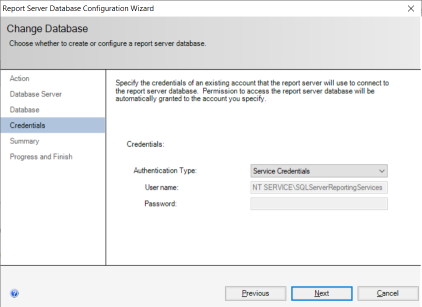
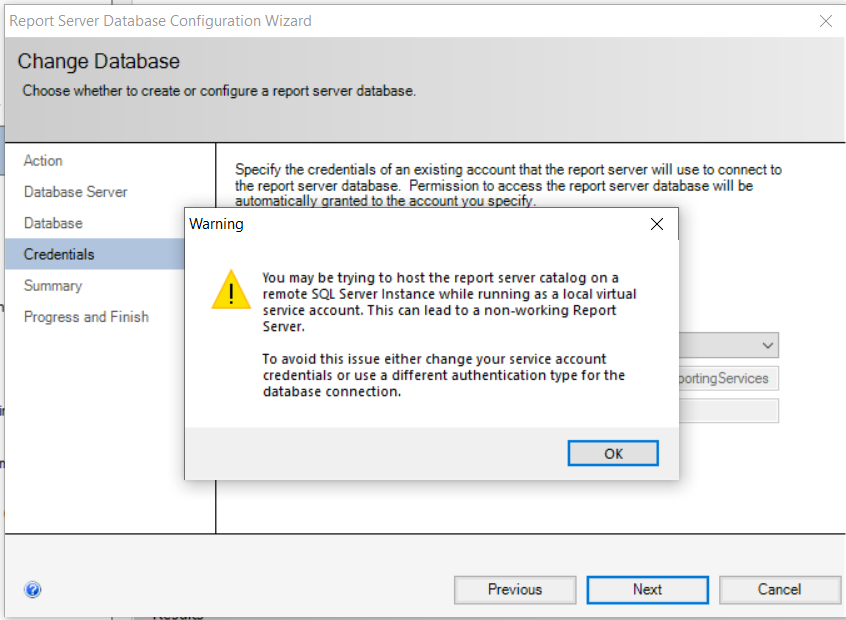
On the Credentials page, accept the default settings and click the Next button.
You may see a warning message which you can ignore now. Click OK button and click the Next button.
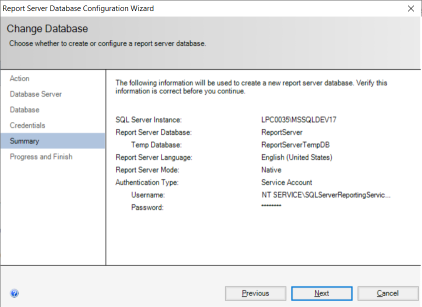
Click the Next button on the Summary page.
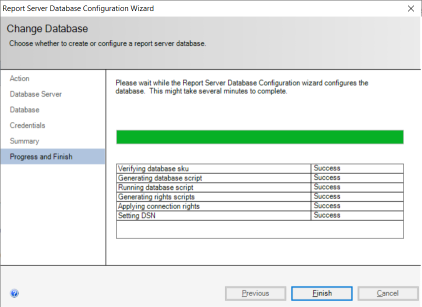
Click the Finish button once database change is completed.
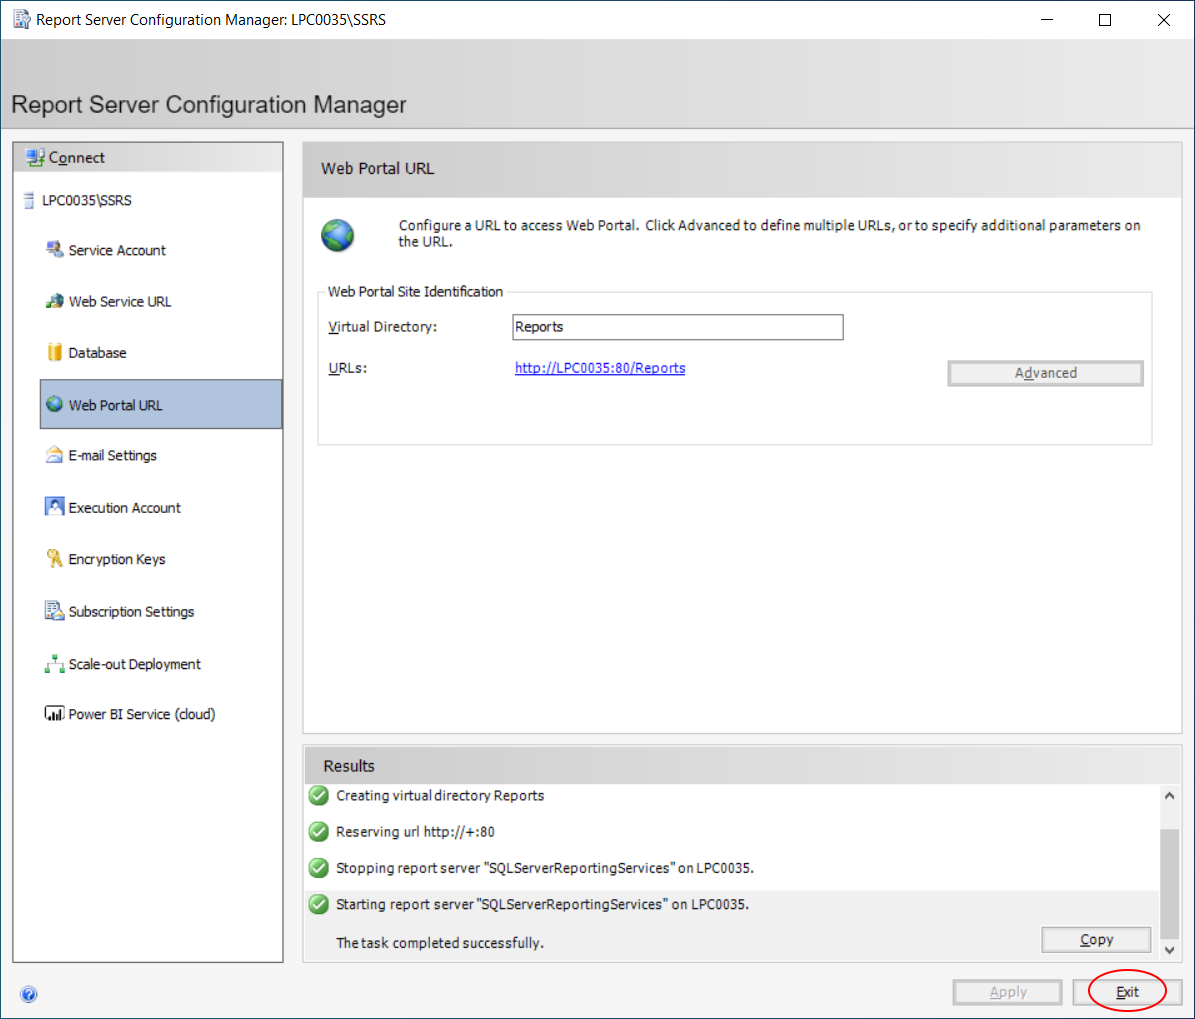
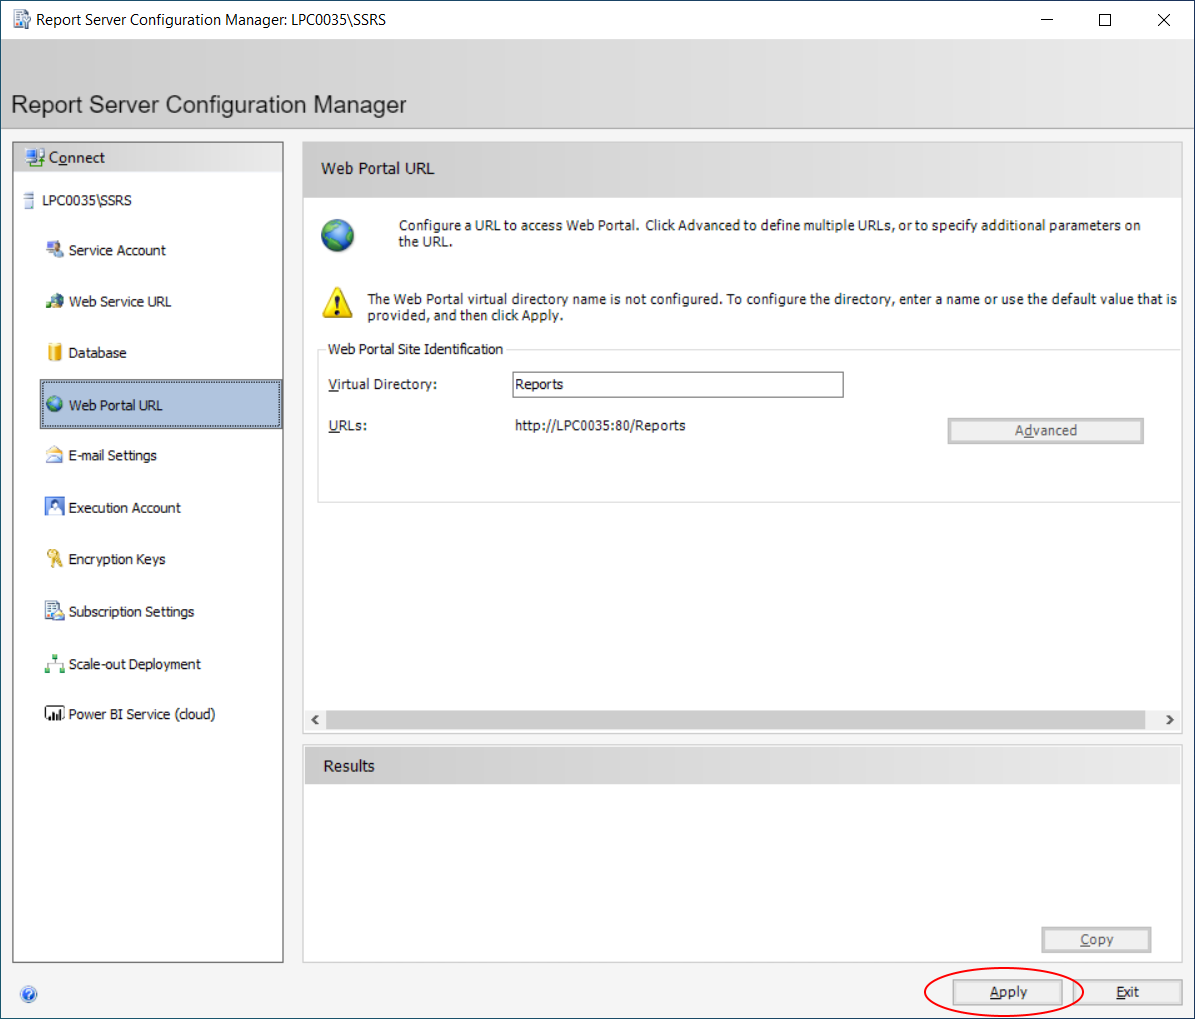
Click the Web Portal URL.
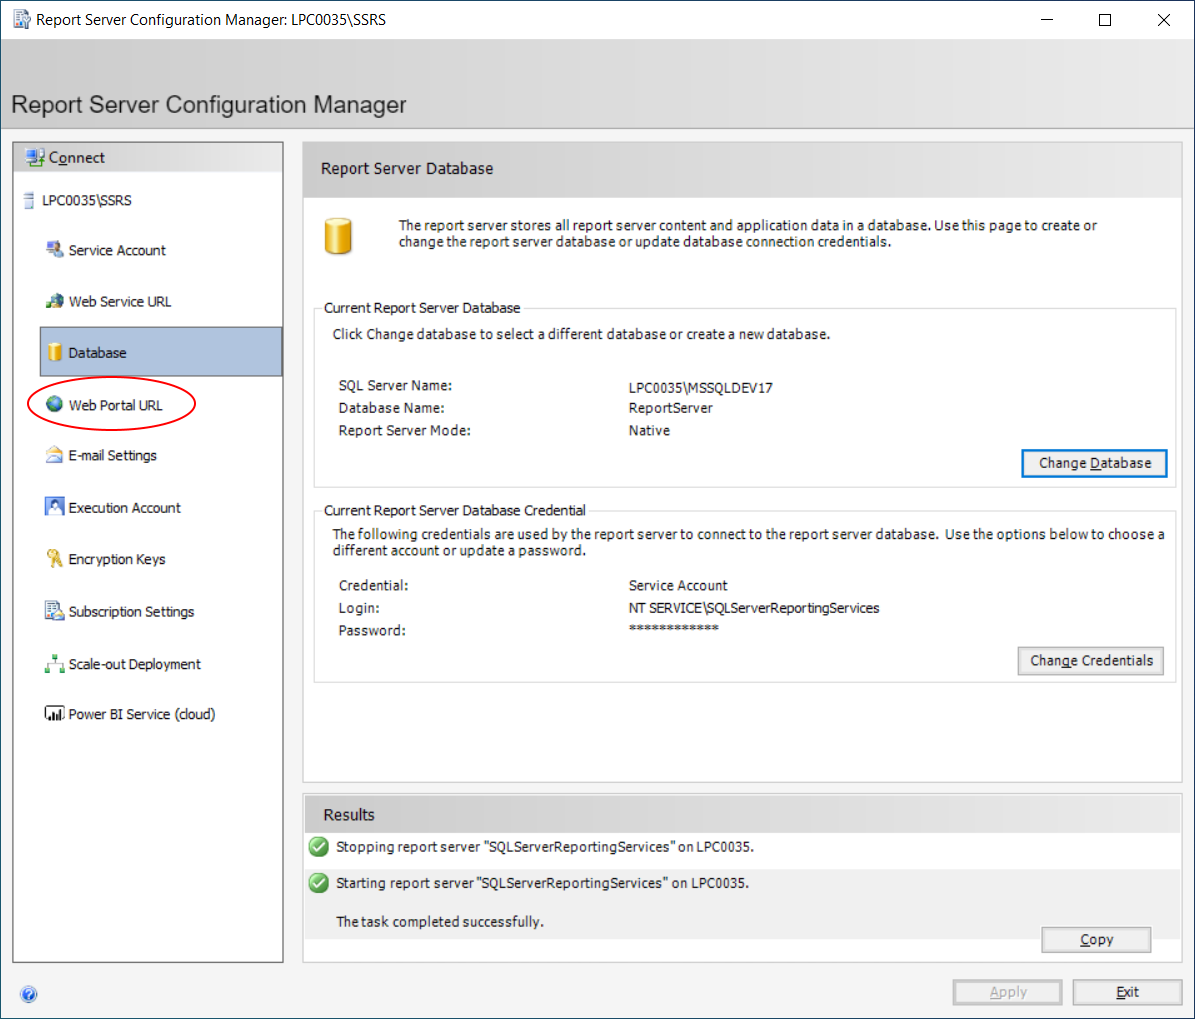
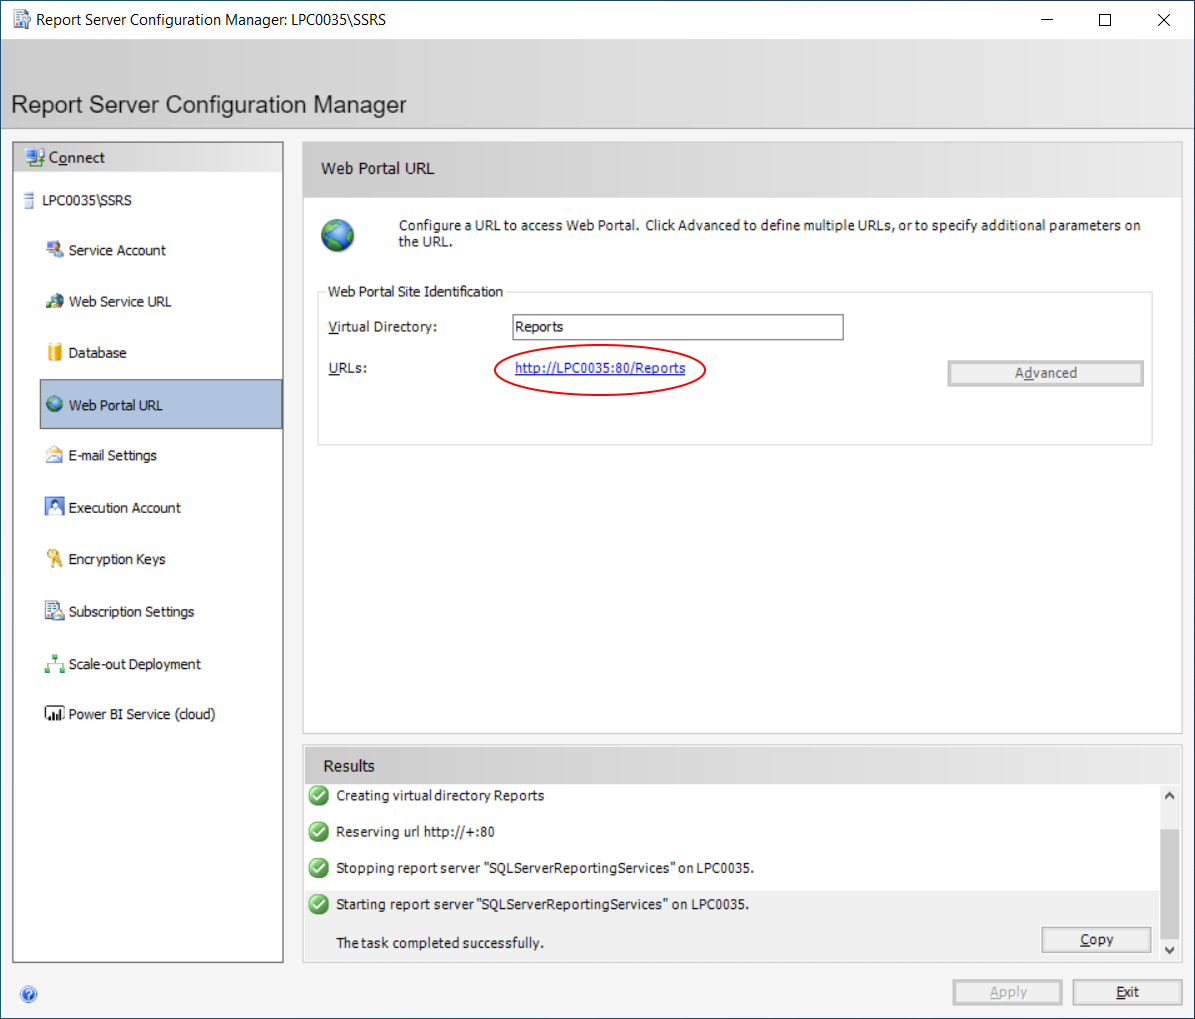
On this page you’ll configure a URL to access Web Portal. Click the Apply button.
Once the URL is configured, take a note of the URL or write it somewhere.
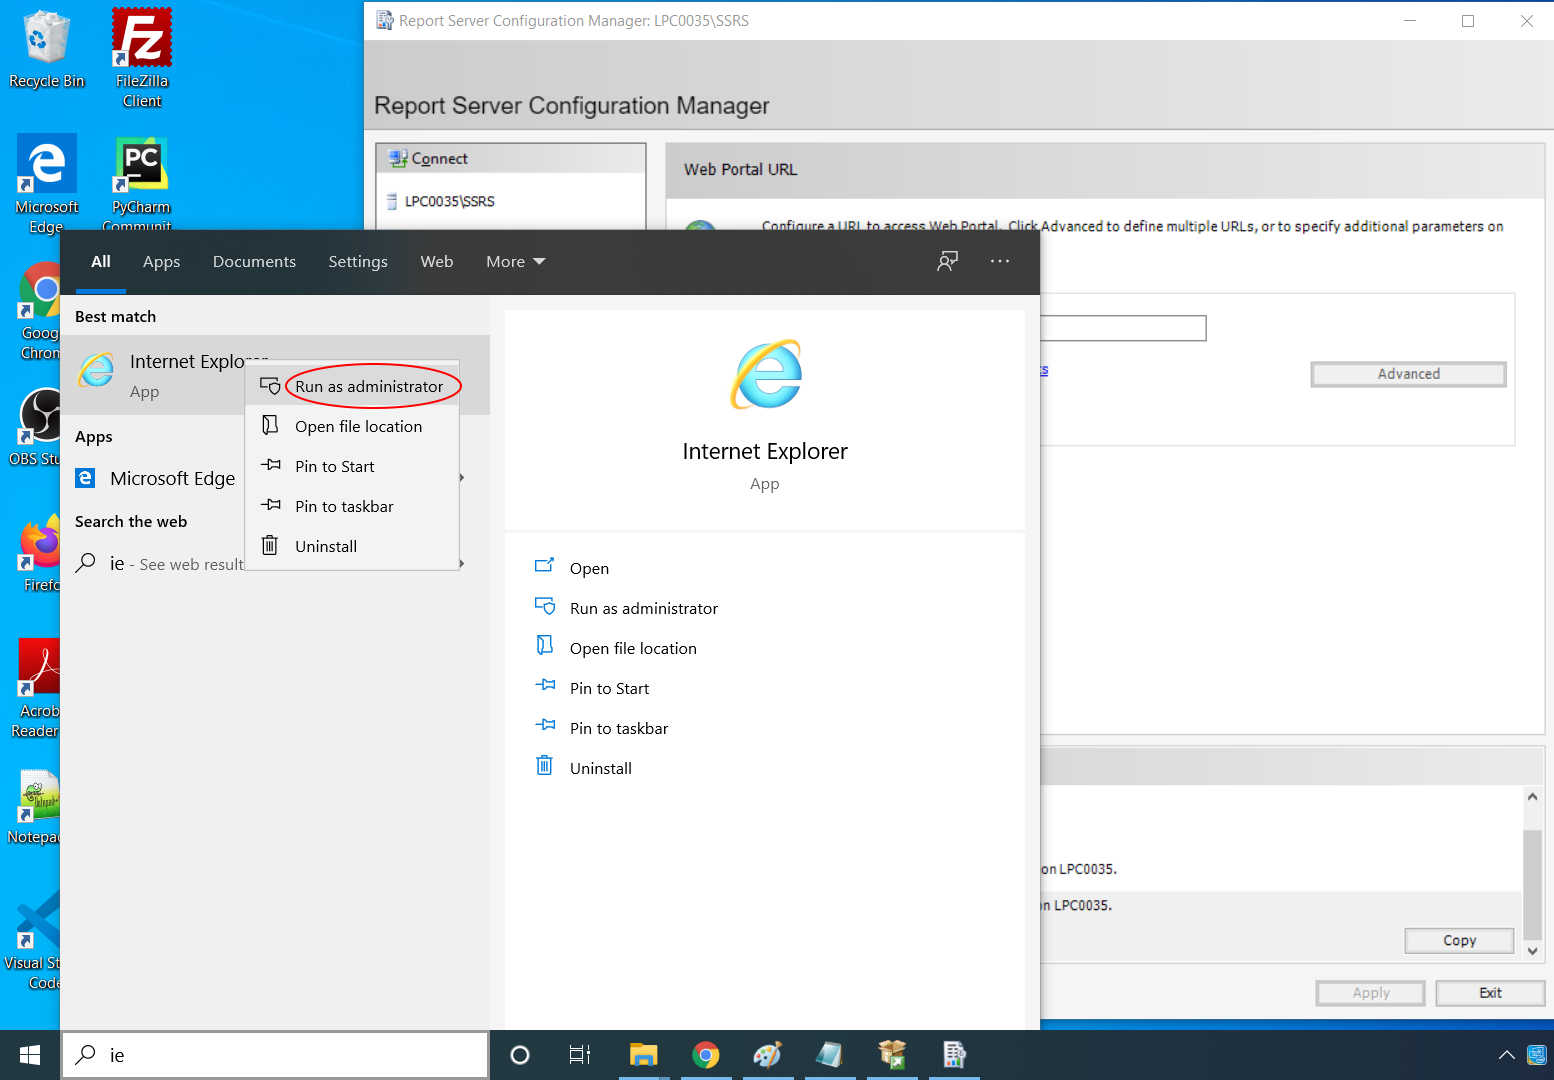
Run a browser such as Internet Explorer as administrator.
Enter the Web Portal URL into the address bar to view it. If everything fine, you should see the report repository page.
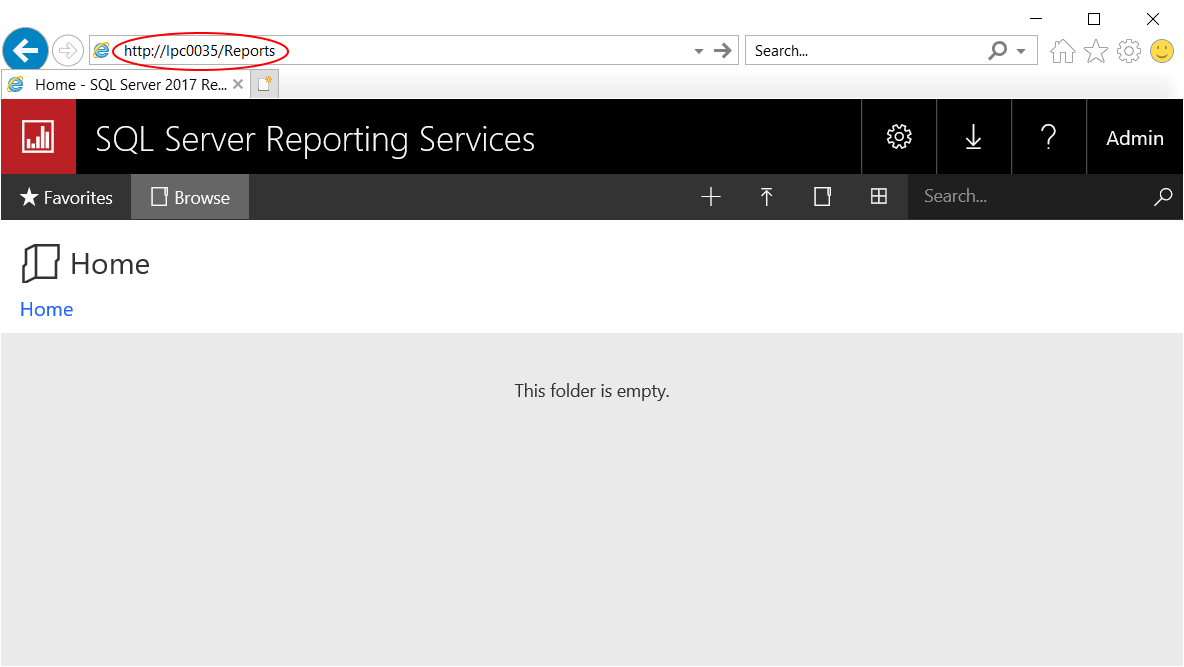
Congratulations! Your Reporting Services has been installed and configured successfully. You can now exit from this window.