In this tutorial, you will learn how to install SQL Server Management Studio step by step. You can download the installation file from the Microsoft’s website. Here SSMS version 17.9.1 has been downloaded, which you can download directly by clicking the download button bellow:
SQL Server Management Studio 17.9.1 (64bit)
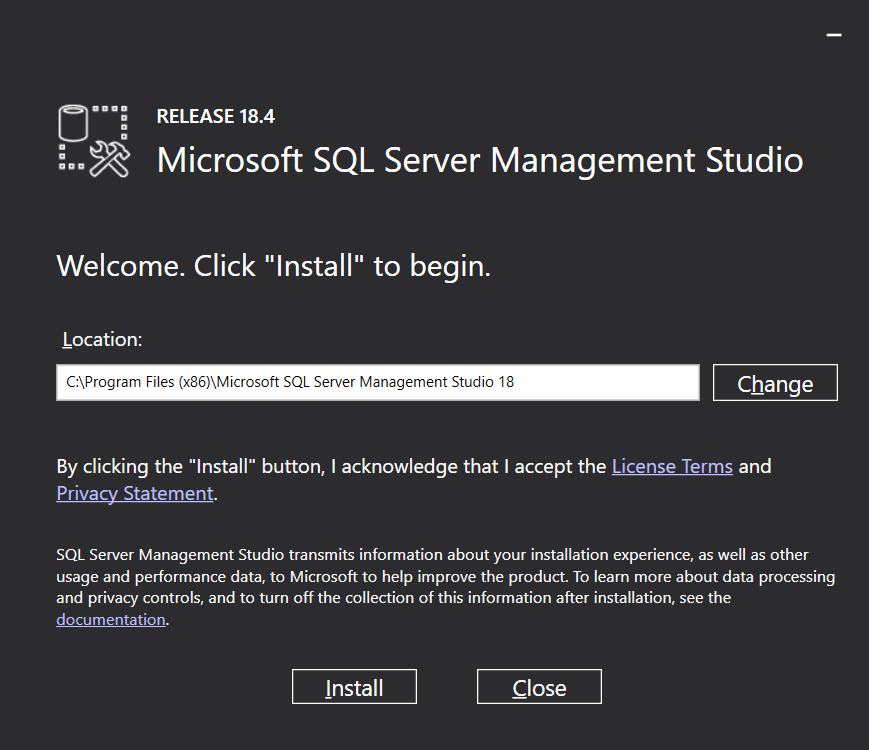
Once downloaded, run the SSMS-Setup-ENU.exe file to start installation wizard. You may change the installation location or accept the existing location. Click the Install button.
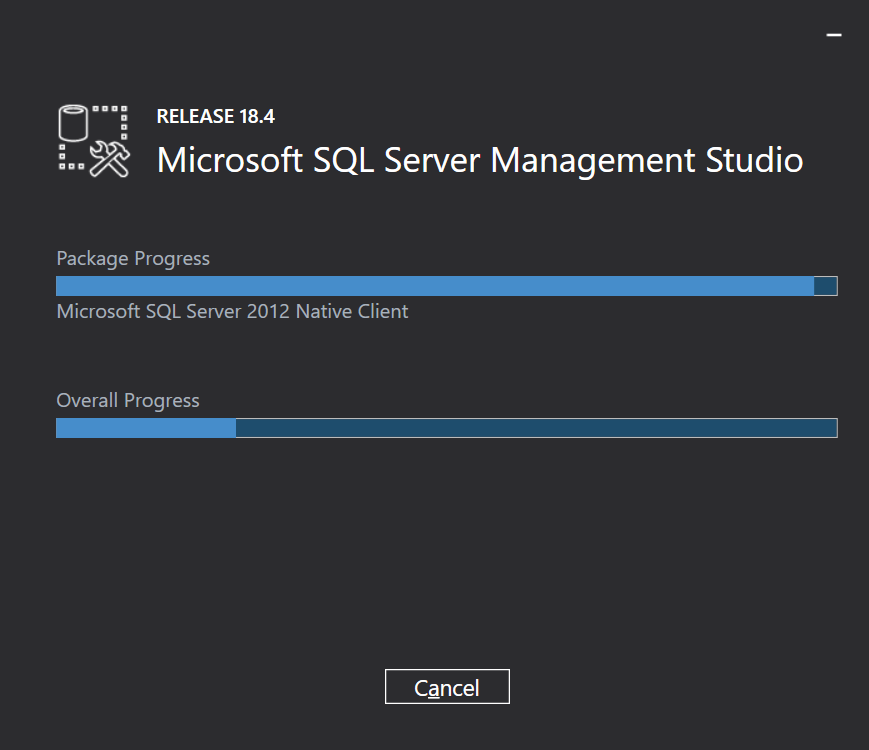
Wait until the installation process is completed.
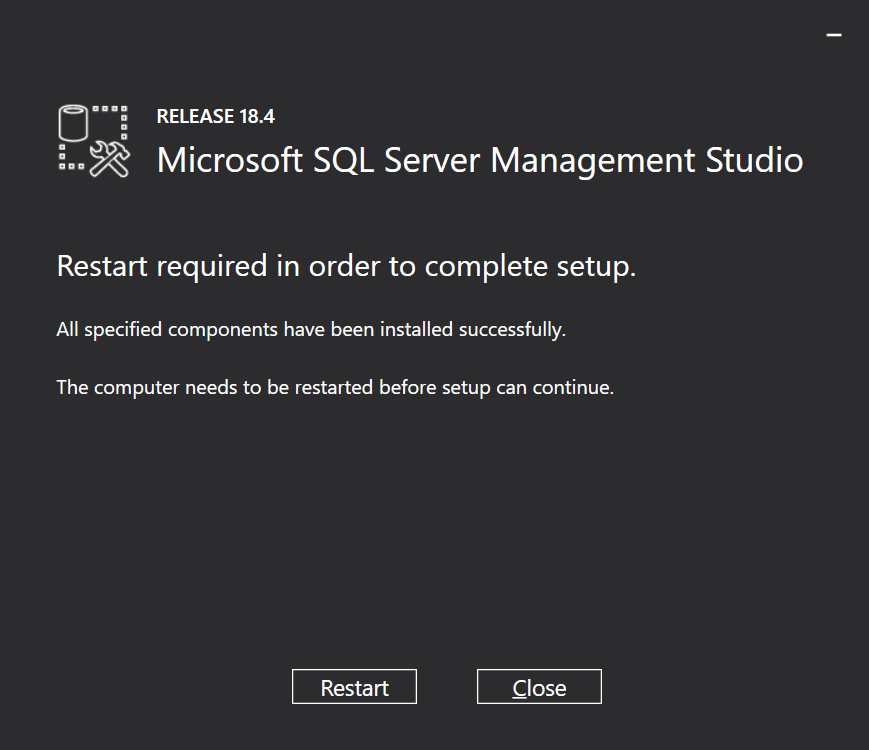
Once completed the installation, you need to restart your computer to complete setup. Click the Restart button.
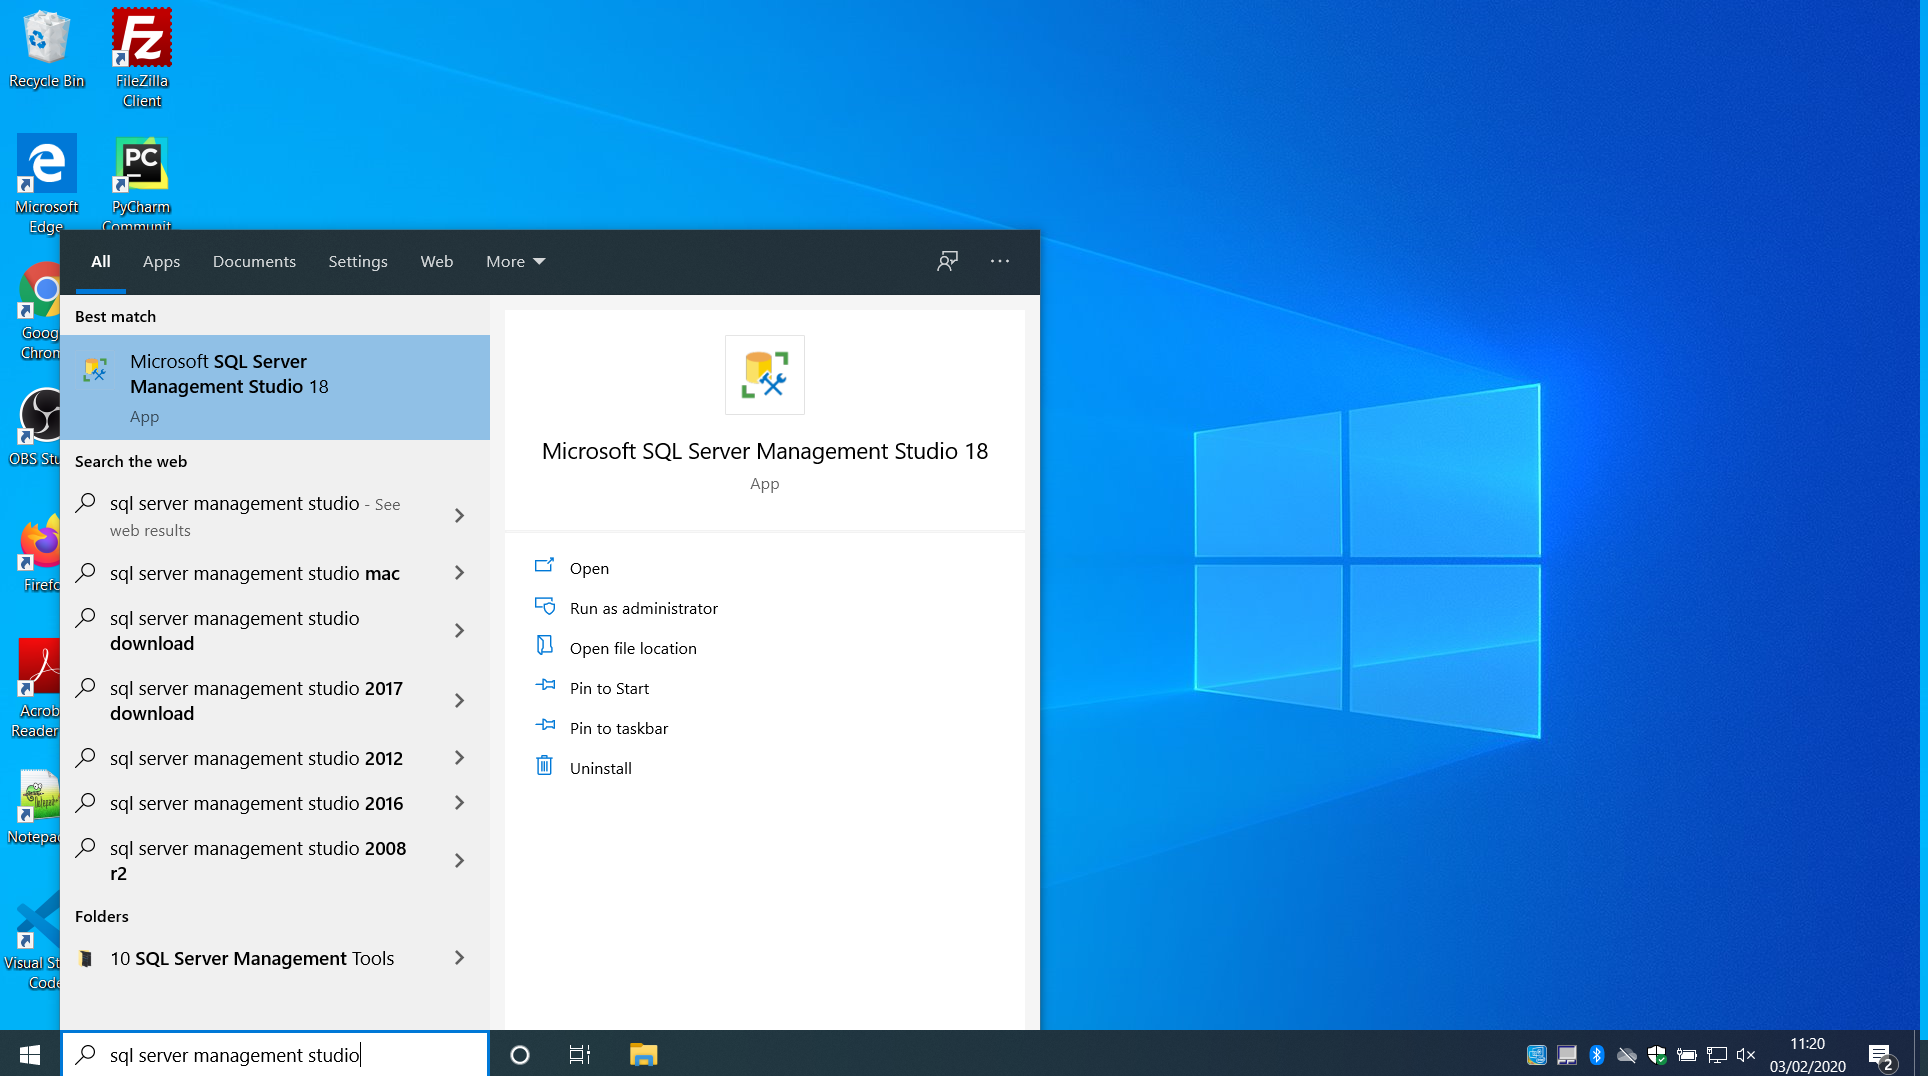
After restarting the computer search for ‘sql server management studio’. Click on the ‘Microsoft SQL Server Management Studio 18’ app to start it.
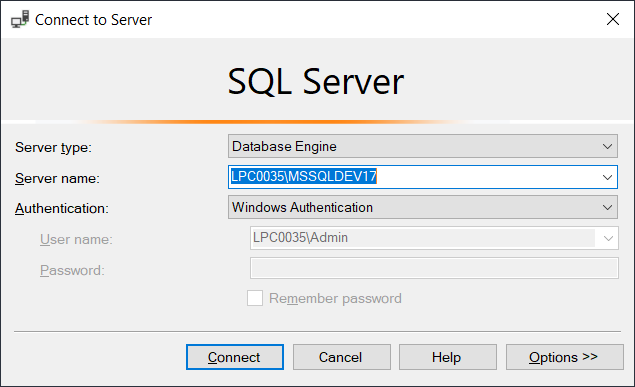
On the Connect to Server window check the Server Name. If it is empty then, click the drop-down list, select , Expand the Database Engine List and then select the server name from the list.
Click on the Connect button.
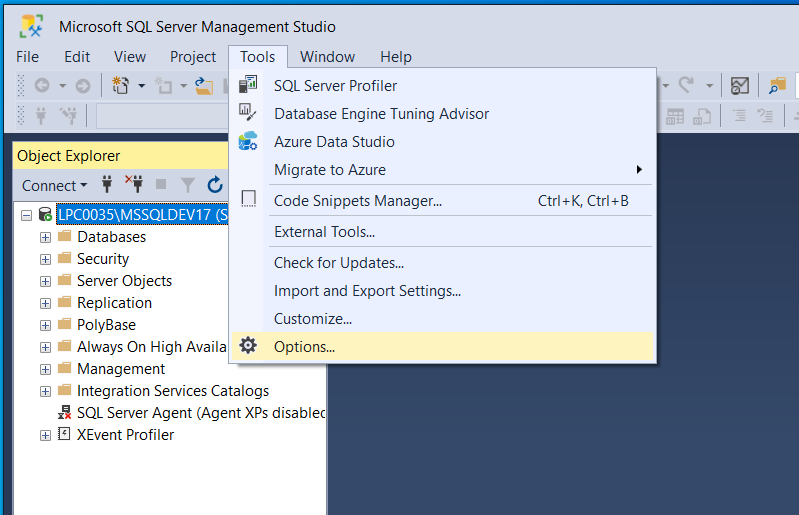
If you want to make your tables editable, then go to the Menu > Tools > Options.
On the Option window, expand Designers > Table and Database Designers > uncheck the option ‘Prevent saving changes that require table re-creation’.
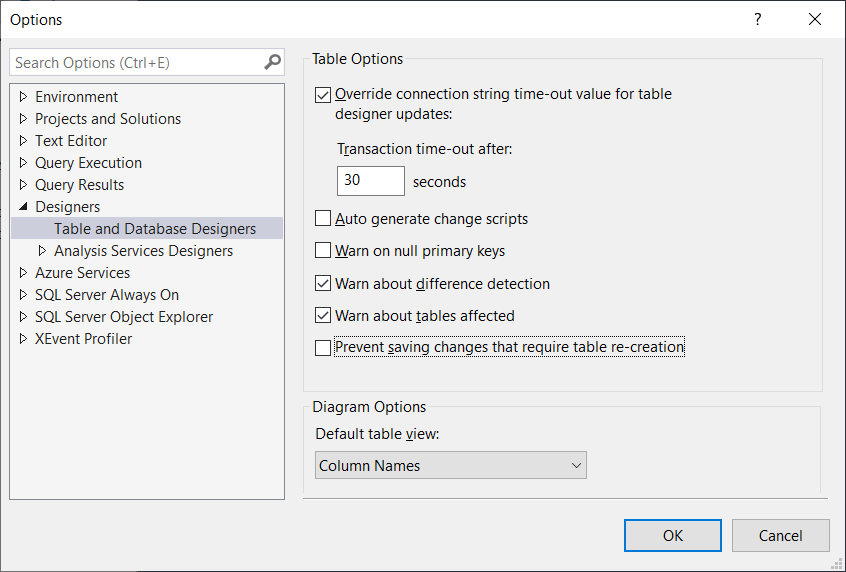
Click OK button to complete the change.