In this article, you will learn how to install the Microsoft SQL Server 2017 Developer Edition. Installing other editions are very similar to this process. You may not find the Microsoft official download page for this version as it may redirect you to the latest version of it.
You can download the installation software of Microsoft SQL Server 2017 developer edition by clicking the following button:
Download for SQL Server 2017 Developer Edition
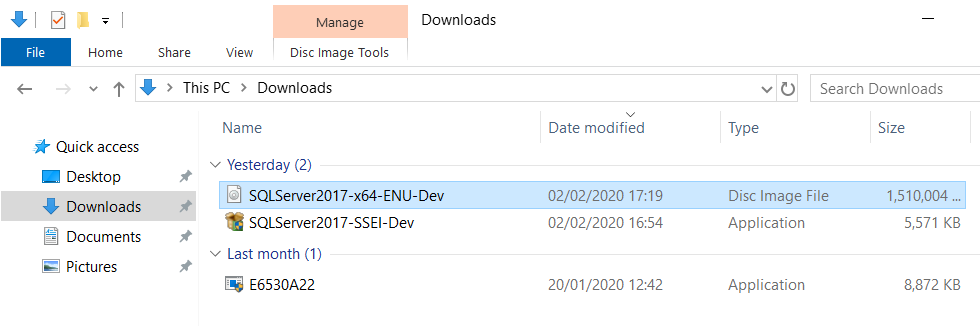
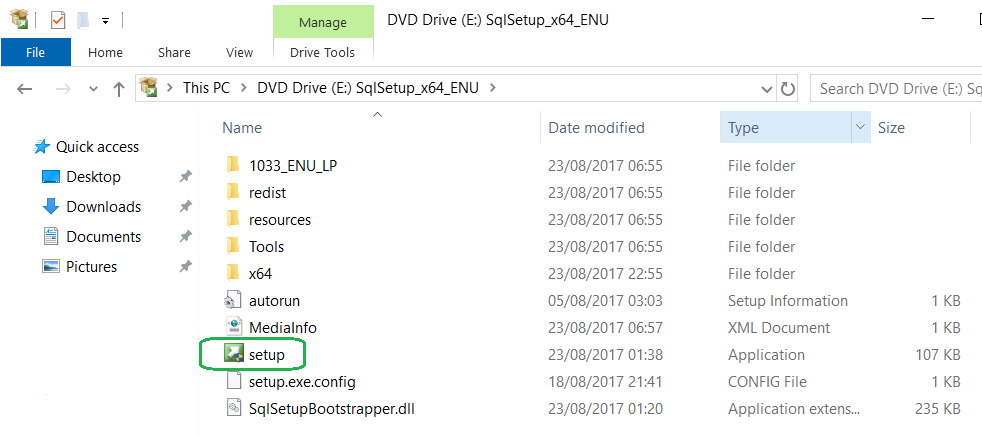
Once it is downloaded double click the file to download and install the software. In Windows 10 computer this fil will be shown as virtual DVD drive. Double click on the setup file to open the SQL Server Installation Centre.
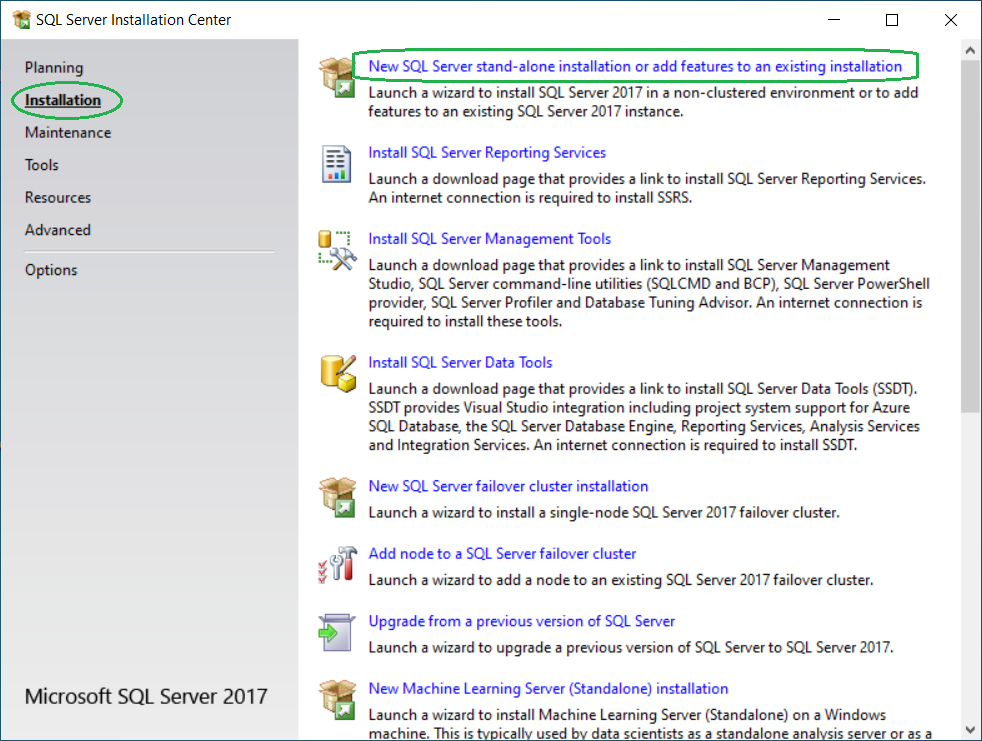
On the SQL Server Installation Center, click Installation tab. Click ‘New SQL Server stand-alone installation or add feature to an existing installation’ link.
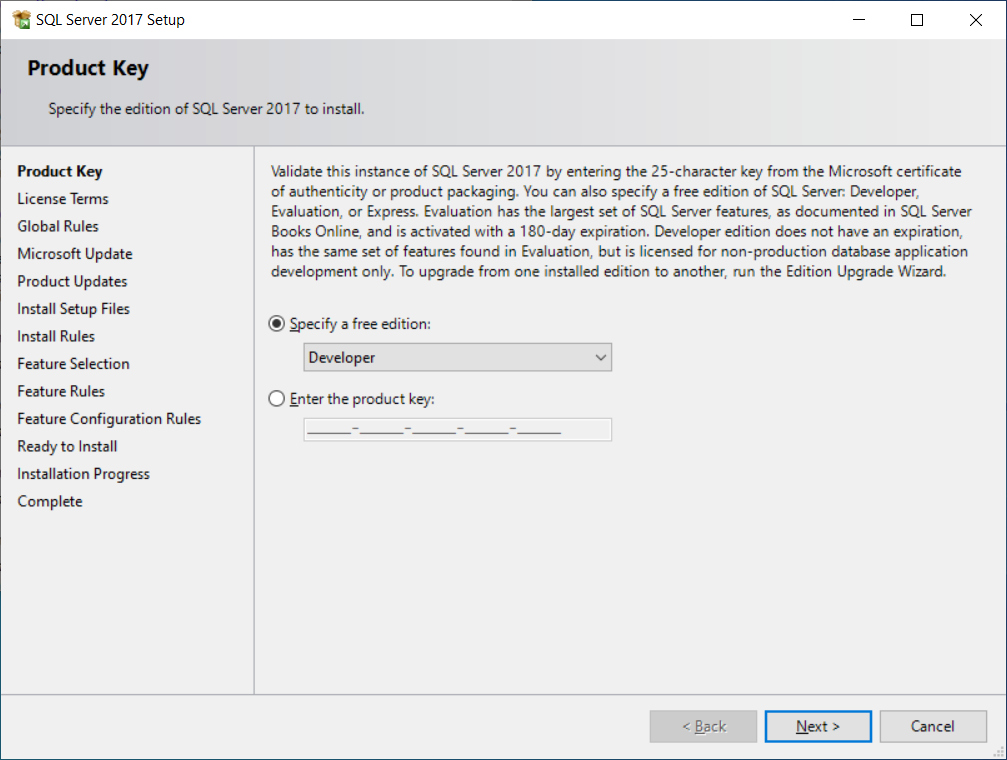
On the Product Key page select ‘Specify a free edition’. Select Developer from the dropdown list. Click the Next button.
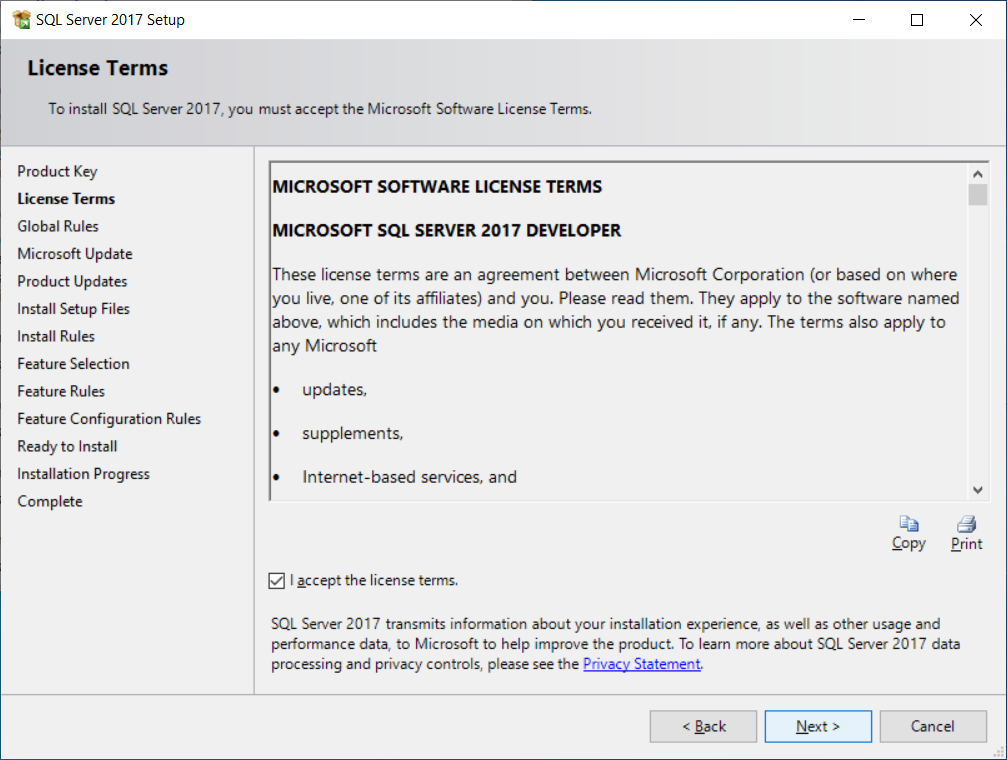
On the License Terms page, accept the license term and click the Next button.
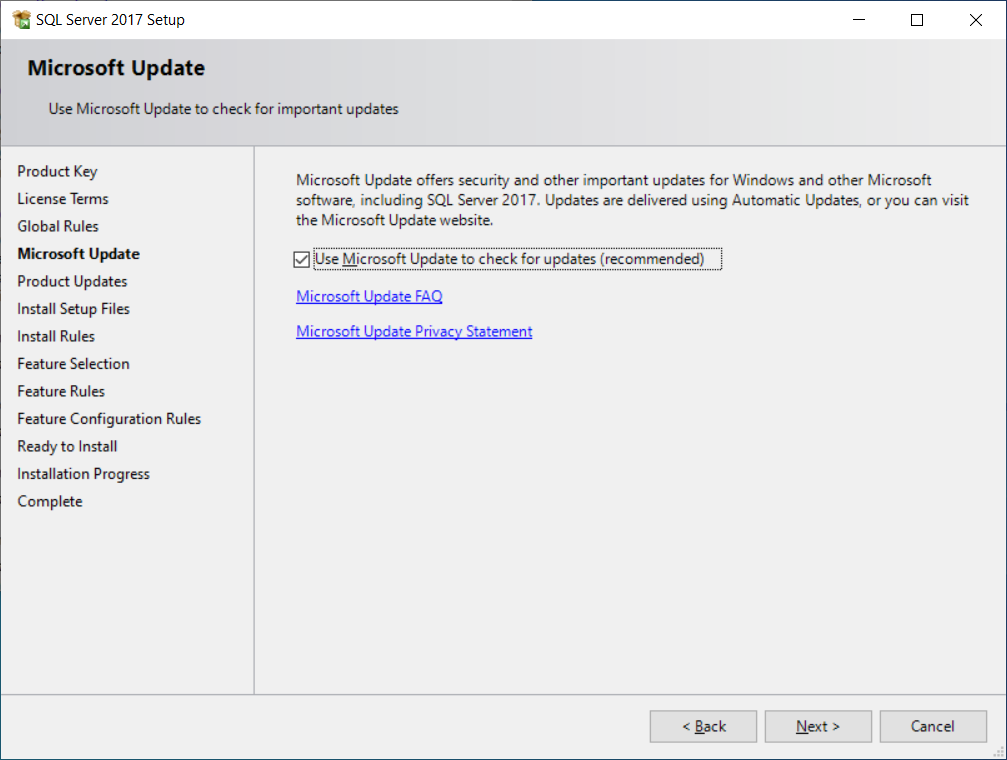
On the Microsoft Update page check the box if you want to use Microsoft Update to check for updates and click the Next button.
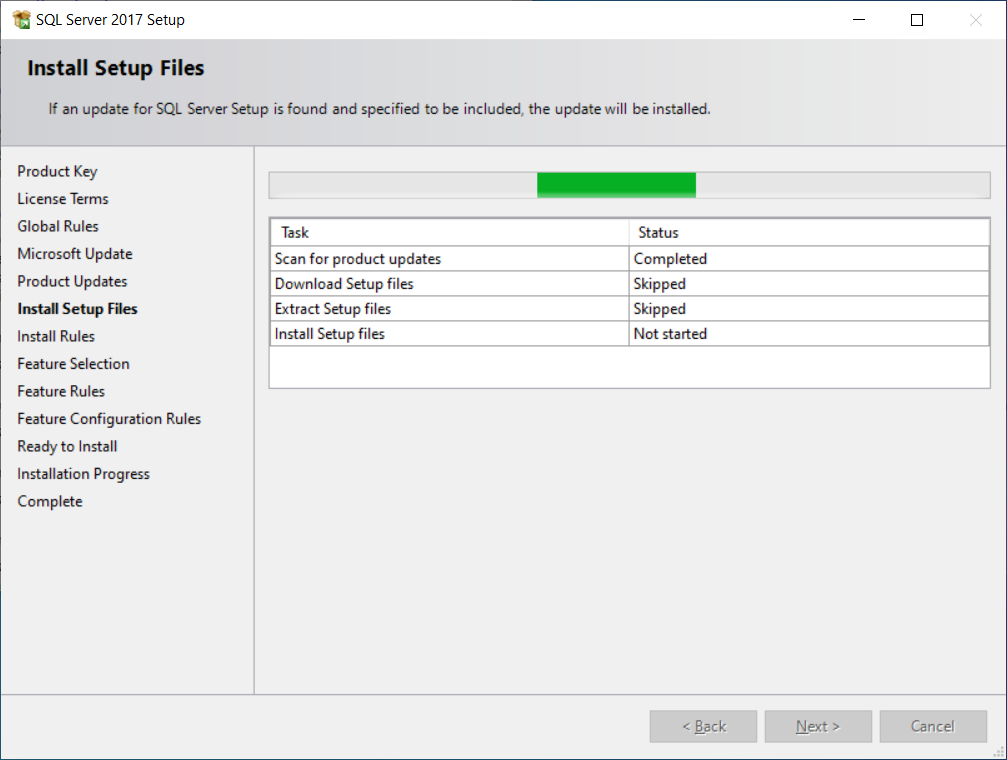
Click Next button once the scanning for product updates is completed.
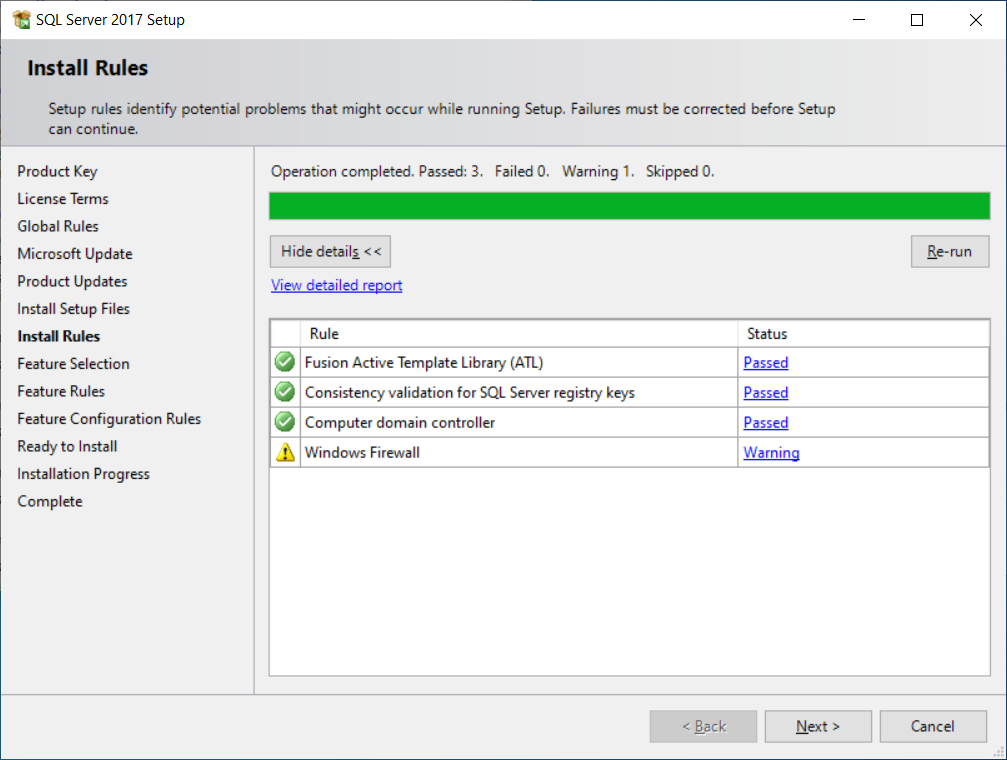
Setup rules identify potential problems that might occur while running Setup. Failures must be corrected before setup can continue. You may ignore any Warning though at this stage. Click the Next button.
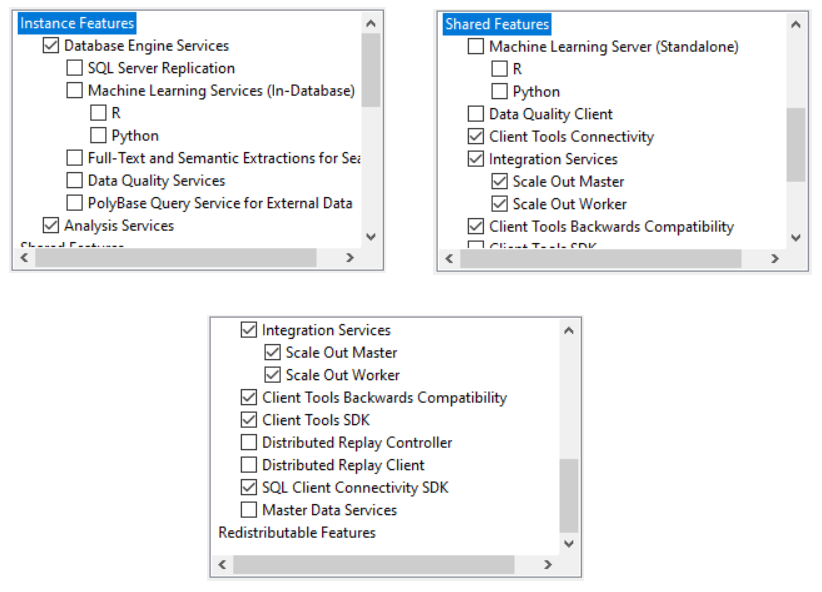
On the Feature Selection page select the features you want to install.
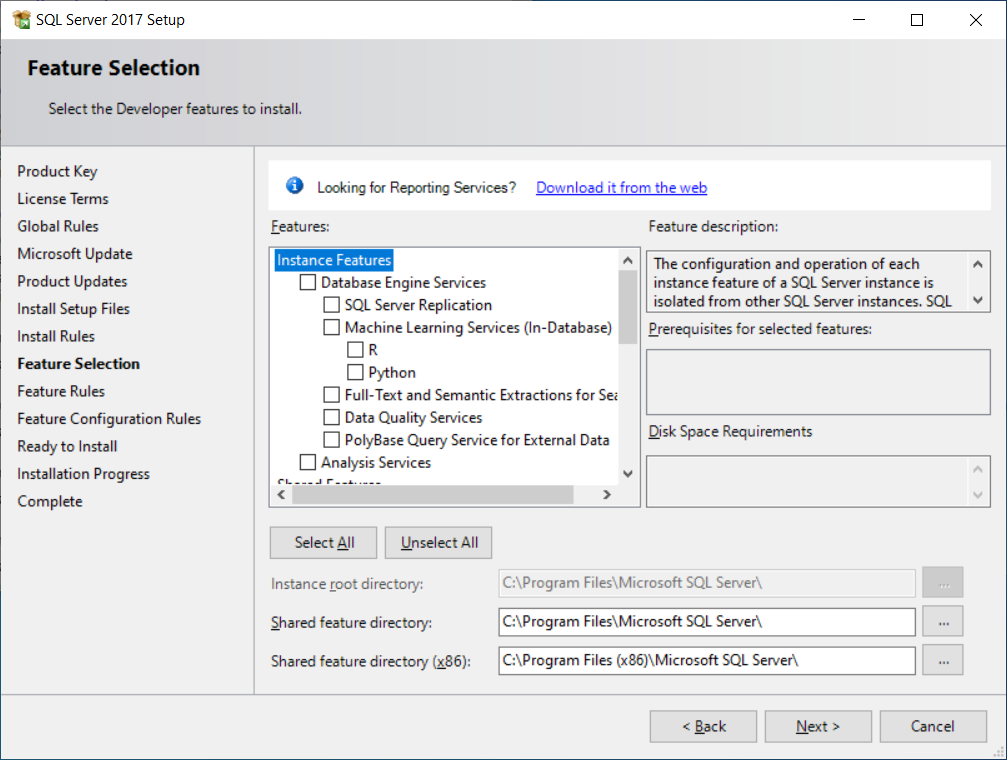
Some most commonly used features are:
- Database Engine Services
- Analysis Services
- Client Tools Connectivity
- Integration Services
- Client Tools Backwords Compatibility
- Client Tools SDK
- SQL Client Connectivity SDK
Specify the name and instance ID for the instance of SQL Server. If you select the Default instance option then your computer name will be your database server name. If you select the Name instance option then you need to provide a name and your database server name will be [your computer name]\[instance name]. Click the Next button.

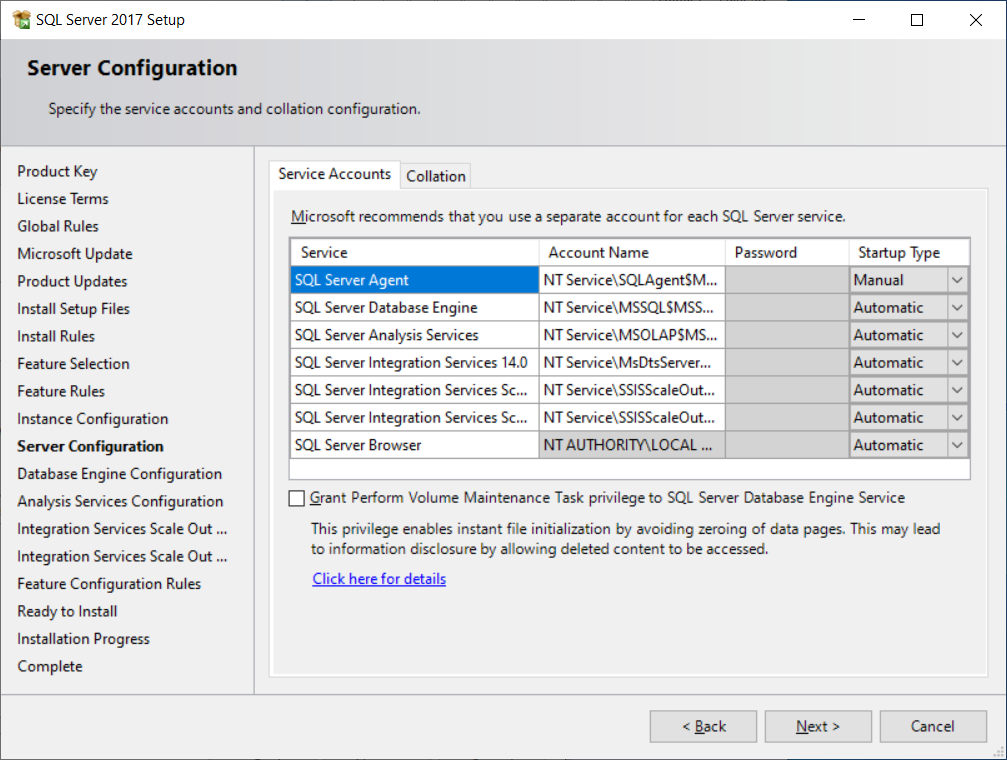
On the Server Configuration page, you may change the Startup Type from Automatic to Manual if you don’t want to start any service automatically when you restart your computer.
Click the Next button to go ahead with all the default settings.
On the Database Engine Configuration pages, specify Database Engine authentication security mode, administrators. You can always change this configuration after completing the installation.
Click the ‘Add Current User’ button to assign administrators privilege to the current computer user.
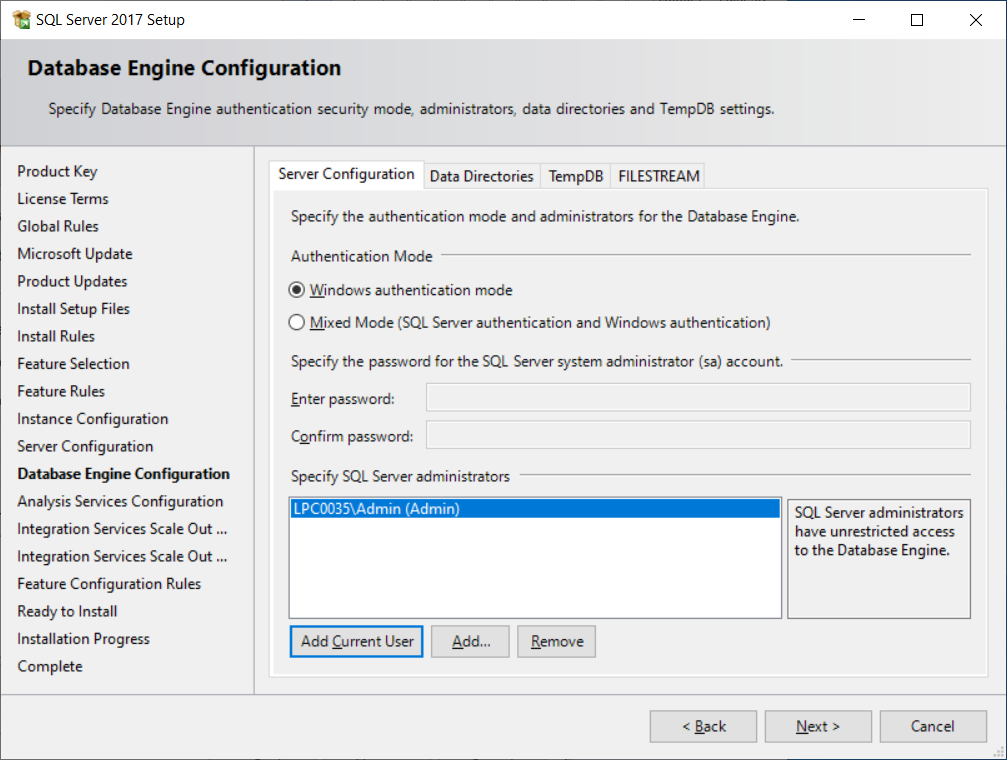
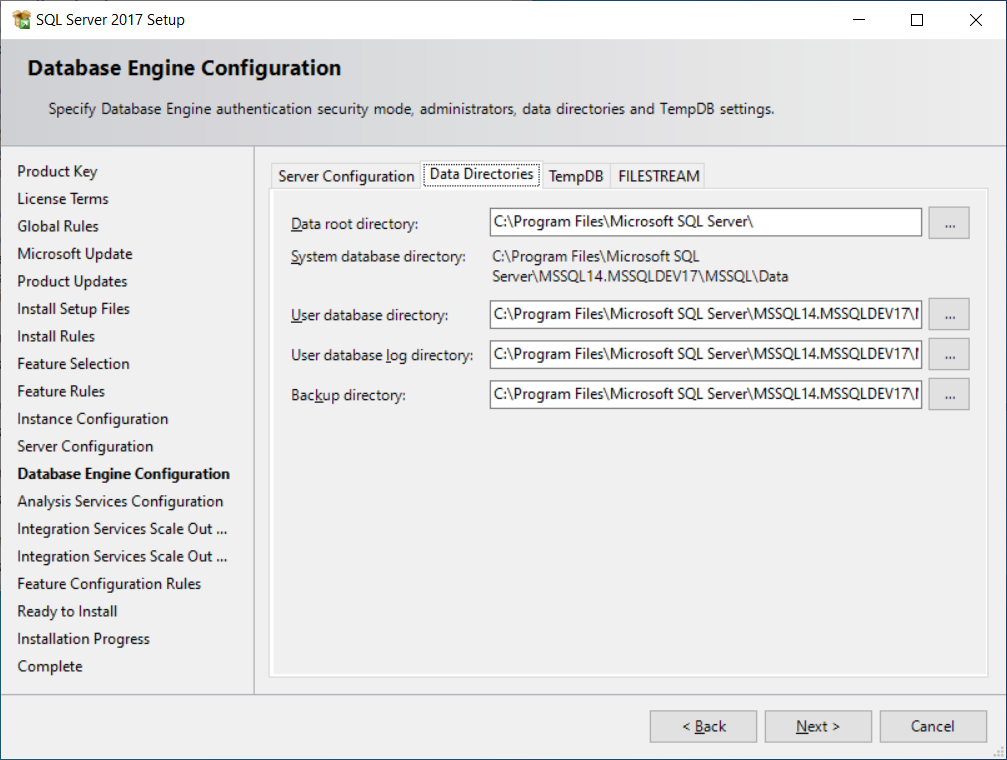
You can change the data directories by clicking the ‘Data Directories’ tab and changing the paths. Don’t change anything here if you are happy with the default paths. Click the Next button.
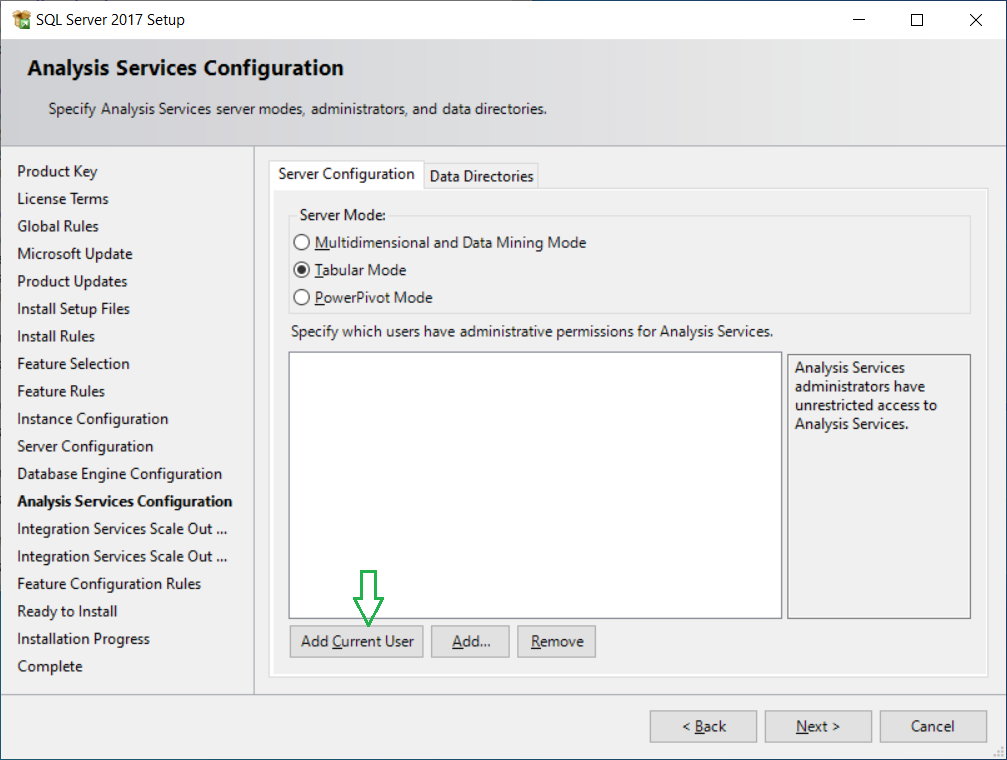
You’ll see this page if you had selected the Analysis Services feature. Select a server mode and click the ‘Add Current User’ button to provide administrative permission to the current user.
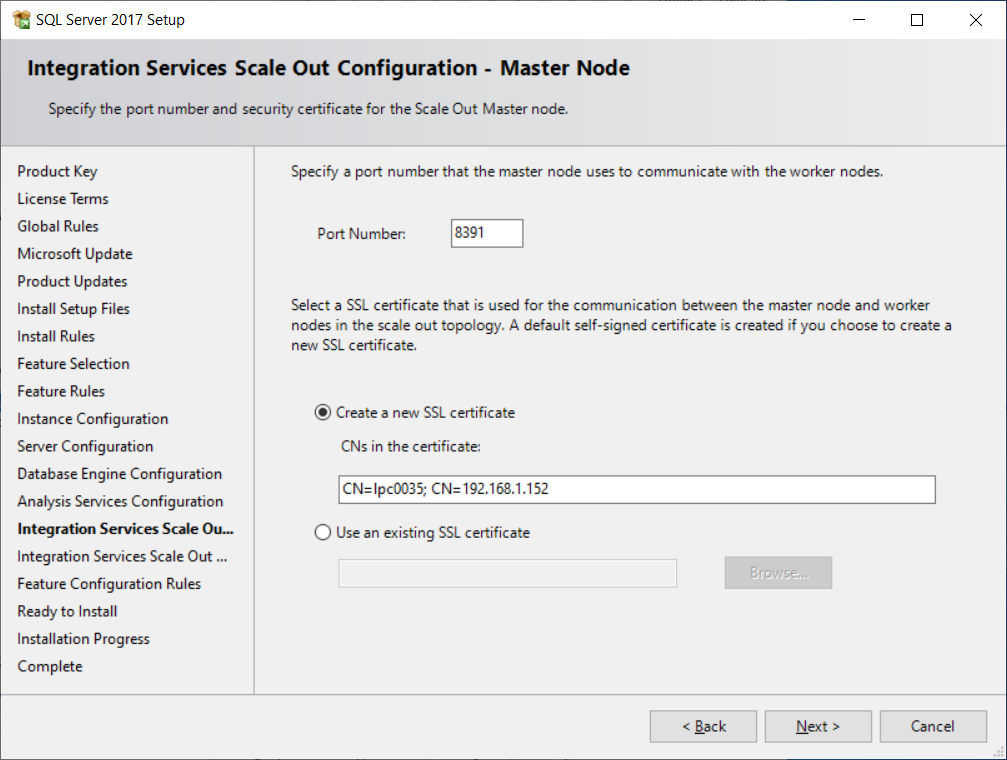
Specify the port number and security certificate for the Scale Out Master node. Accept the default values if you are not sure or no need to change and click the Next button.
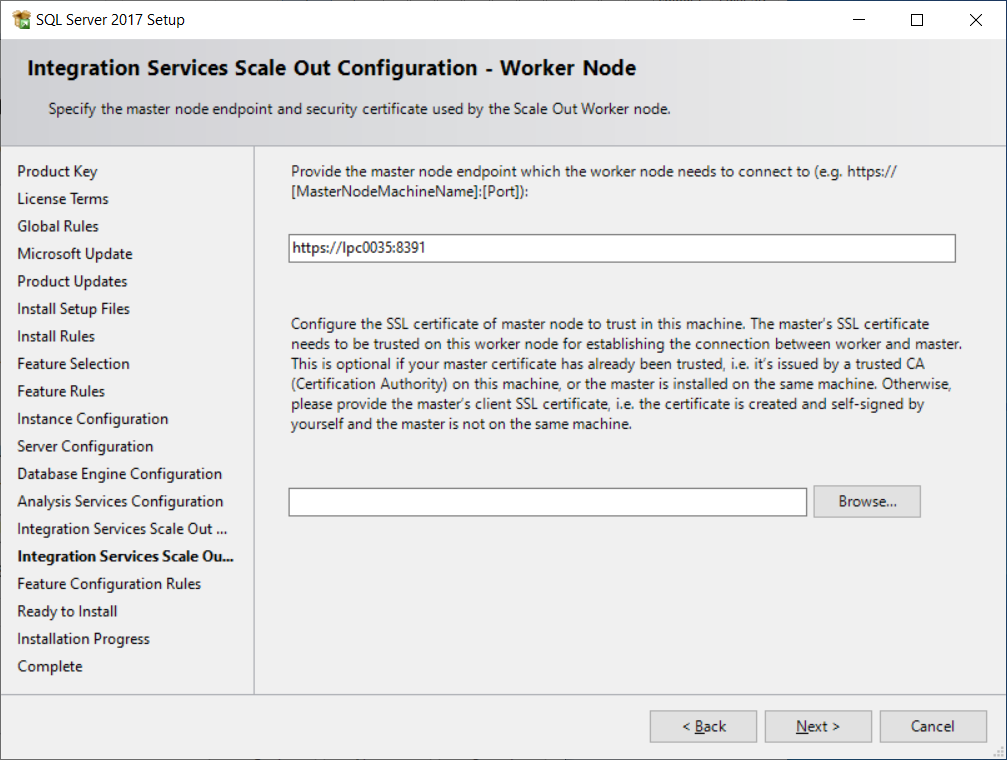
If you selected the Integration Feature, then you will see this window to specify the master node endpoint and security certificate used by the Scale Out Worker node. Change the settings if you need or accept all default settings and click the Next button.
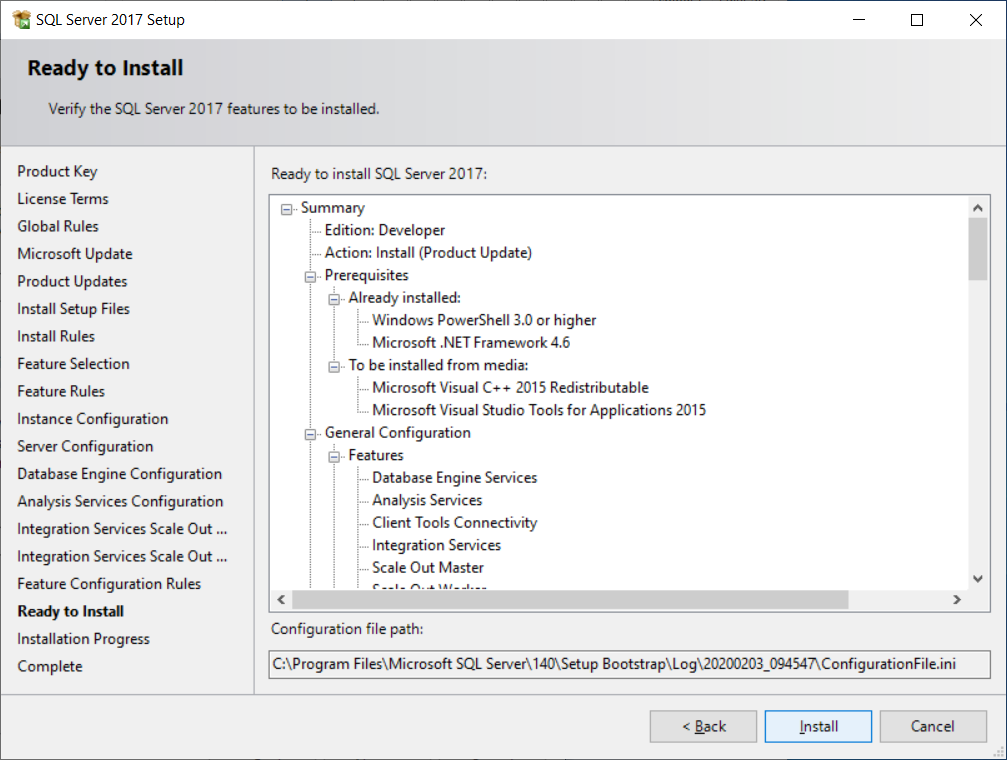
Finally, you are ready to start the installation. Click the Install button to proceed.
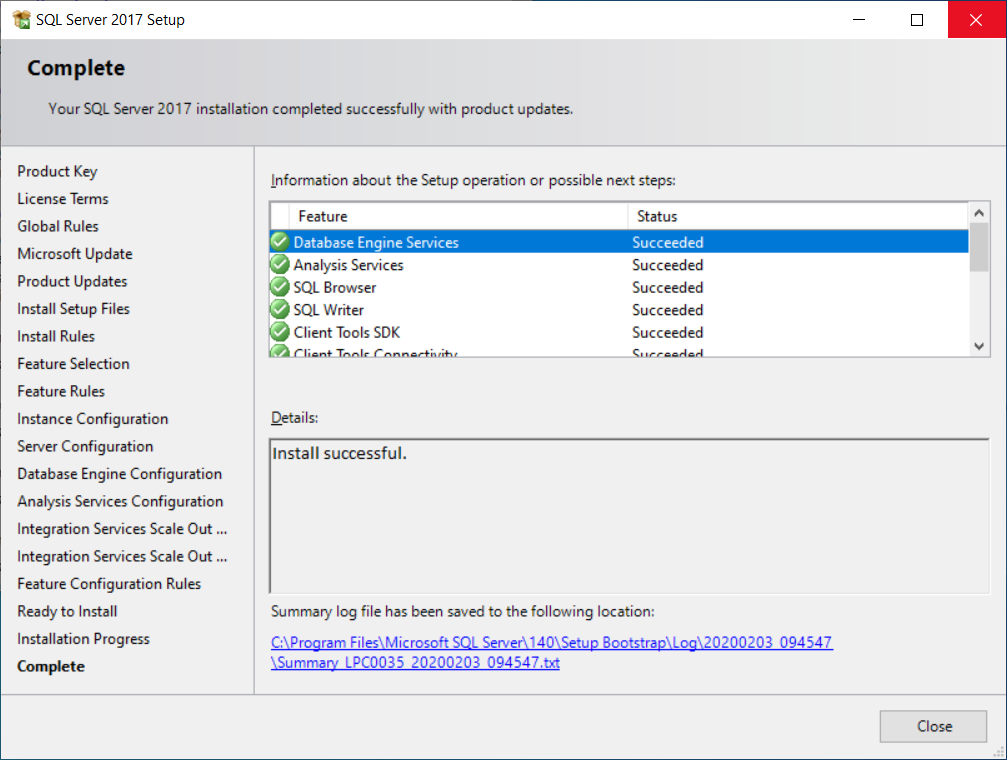
Once set up is completed, the installation status of each component is shown. You can review the summary log file from the provided link.
Now, you need to install SQL Server Management Studio (SSMS) to connect and work with SQL Server.